Ubuntu – Static IP
I’m finishing up the VM based Ubuntu 19.10 setup and decided to make a few screenshots to test new workflow. Instead of random topic, I documented the task of configuring Ubuntu to use static IP address.
Why use Static IP?
Desktops don’t benefit from this much, but servers benefit from having static (fixed) IP addresses because you configure DNS once and then use server hostname and same fixed IP address for using any services.
Even if all you need is connect to server via SSH, static IP address will make things much easier – plus it usually comes as default for most dedicated hosting plans.
In my home lab I prefer to configure most virtual machines with static IP addresses because this allows me to easily access them remotely (working from one of the laptops).
Things to Know Before Configuring Static IP
Assuming you’re going to assisg a static IP from your local network (LAN), you need to have the following information confirmed:
- what's the local network addressing in use? It most likely starts with 192.168 or 10.0, but you need to know for sure. You need the full network – so something like 192.168.0.x or 192.168.1.x
- static IP address you plan to use (from the same network)
- make sure this IP is available – currently not in use (and at least does not answer to ping)
- default route (sometimes called gateway) address – this is usually the IP address of your broadband modem. In my case it's 192.168.1.1
- DNS server IP address – usually the same as your gateway IP
- you can also easily use external DNS server like 1.1.1.1 (CloudFlare) or 8.8.8.8 (Google)
Configure Ubuntu 19.10 for Static IP
Here are the screenshots walking you through the static IP configuration:

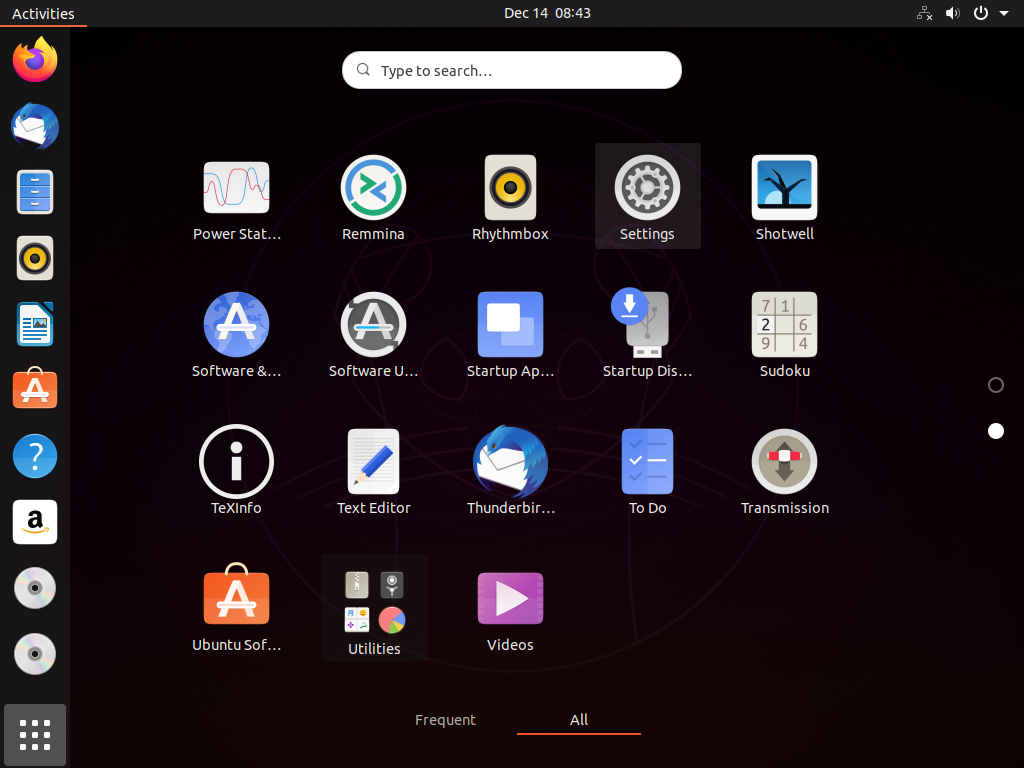
Go to app listing:

… choose Settings:
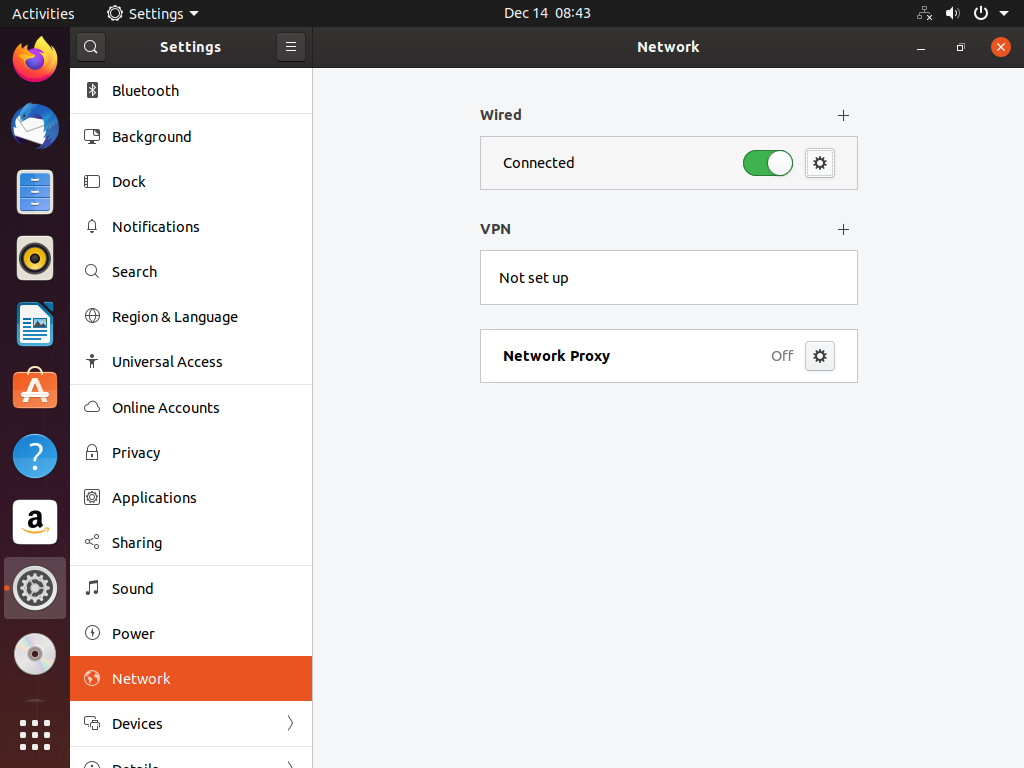
and select Network:
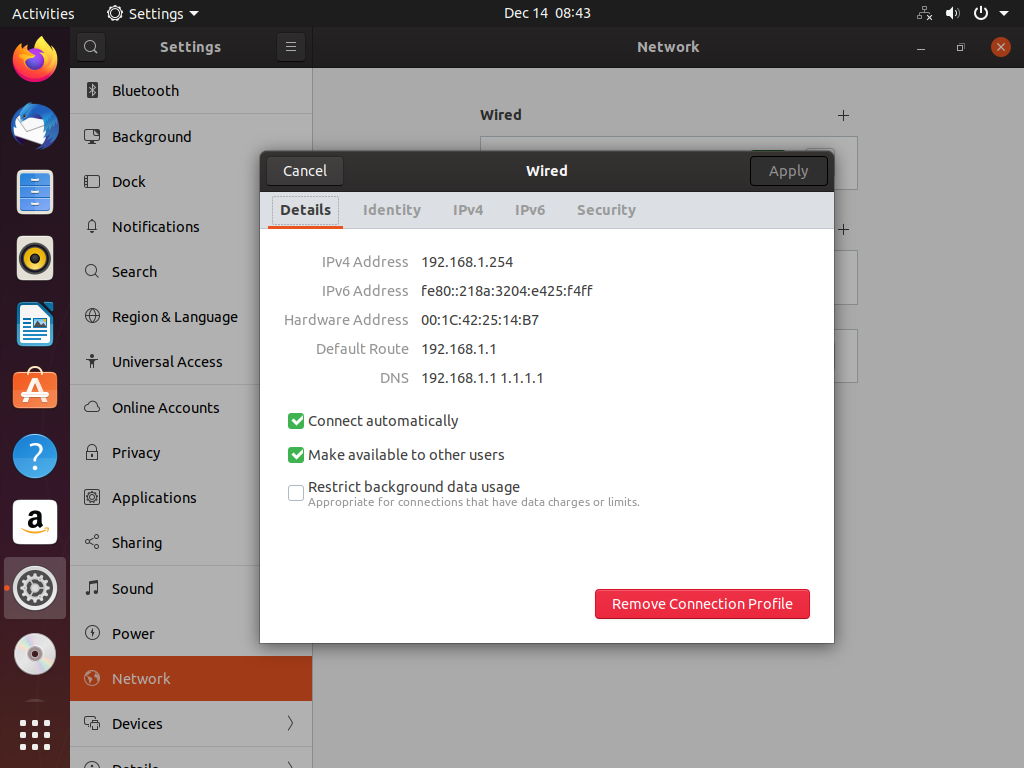
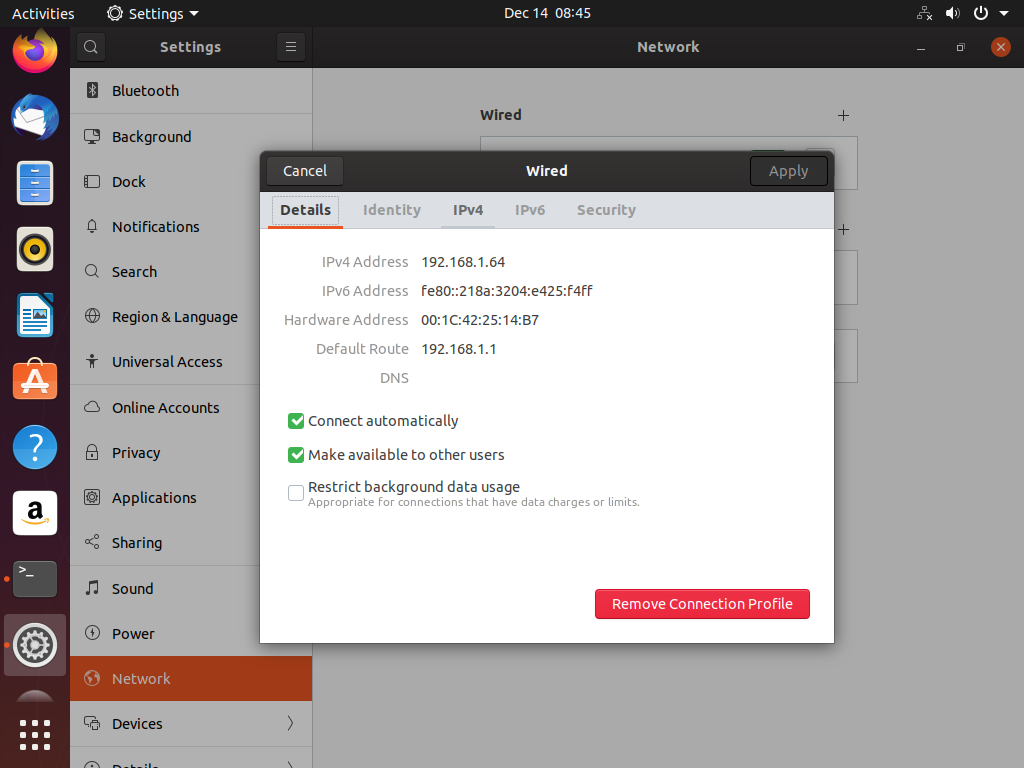
Inspect current settings (they would be automatic IP address and DNS details via DHCP):
…and now go to IPv4 settings:
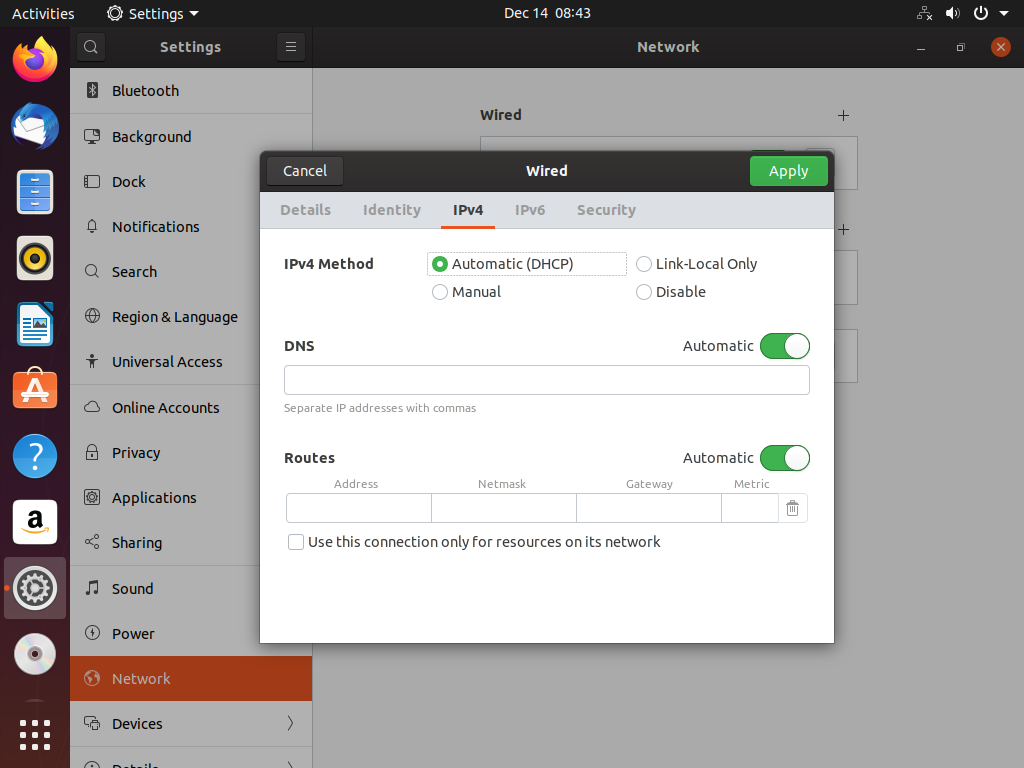
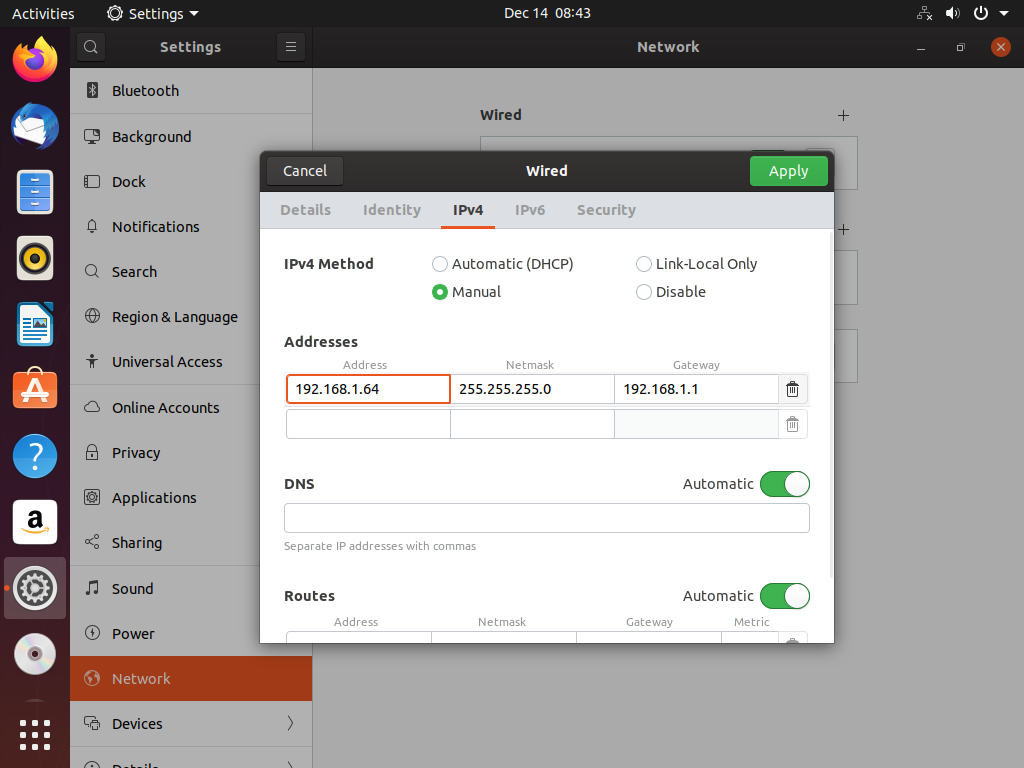
Now, select Manual option for IPv4 method:
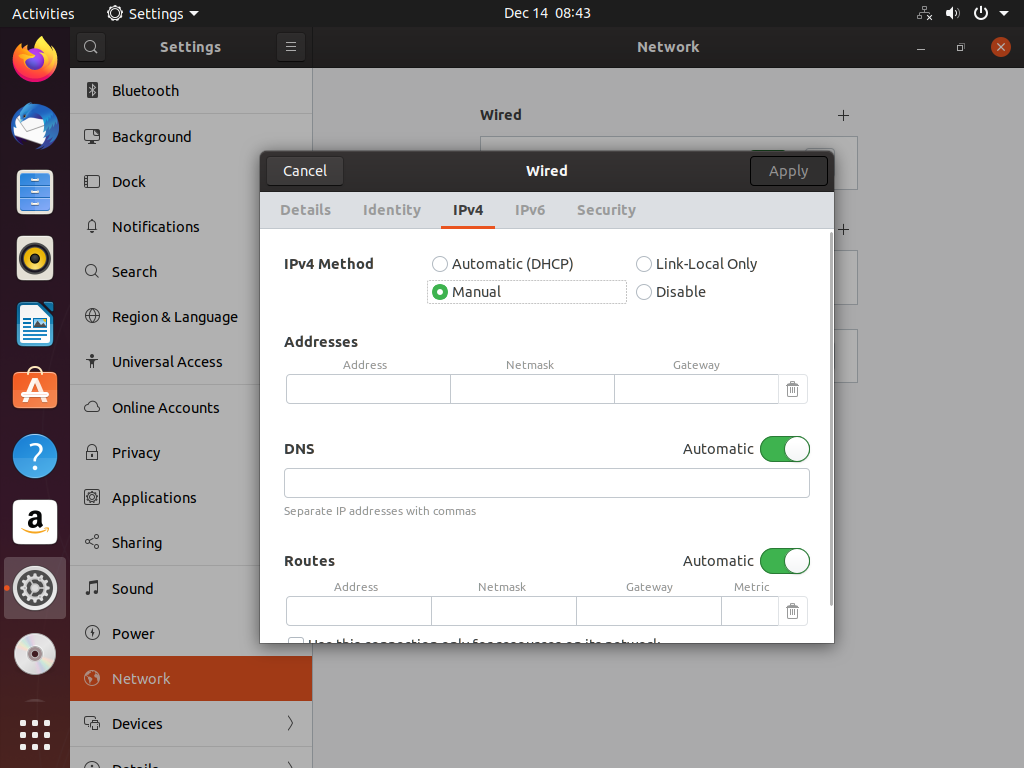
…and provide new values:
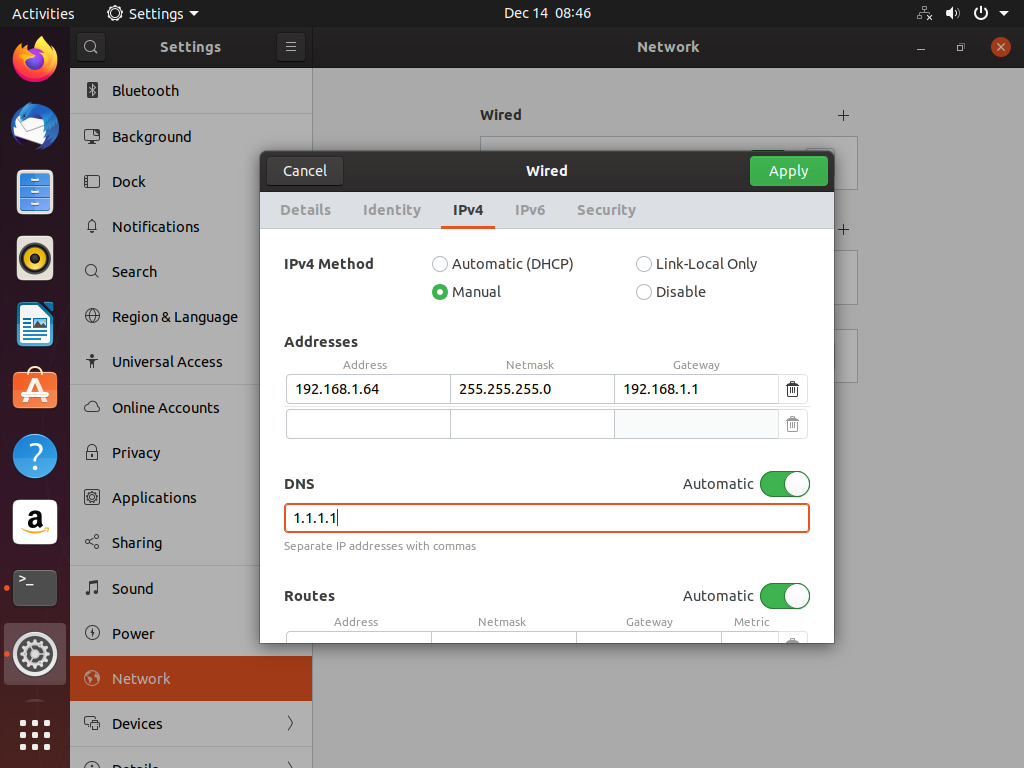
Now click Apply (top right) and in the next screen turn the Wired network off:
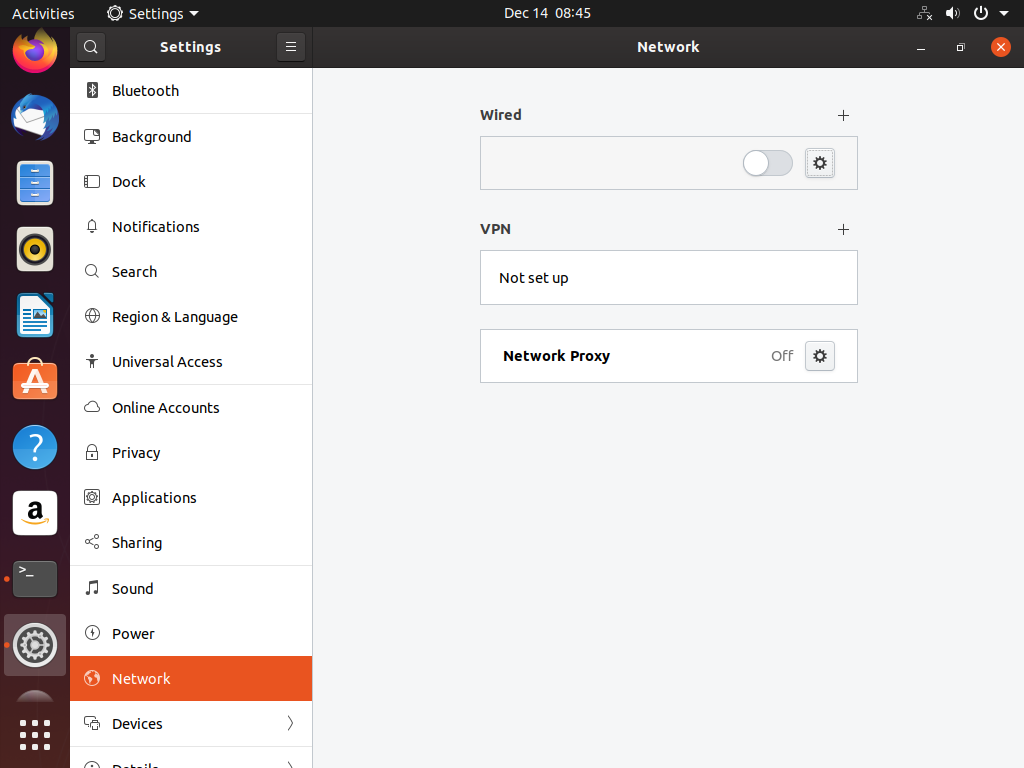
Now turn it back on and you can review the result:
That’s it – it’s a rather simple procedure but I still find it more comfortable (and easier to manage) when I update configuration directly or via Ansible.