Projects: NAS storage with Helios 4

Helios 4 NAS
This past week (actually past two weeks) I worked on building a compact NAS storage system using the Helios 4 kit I had received a few weeks ago. The expected end result is a 4-drive RAID5 storage available to Windows, Linux and Mac backup clients via native file transfer protocols.
Helios 4 NAS storage
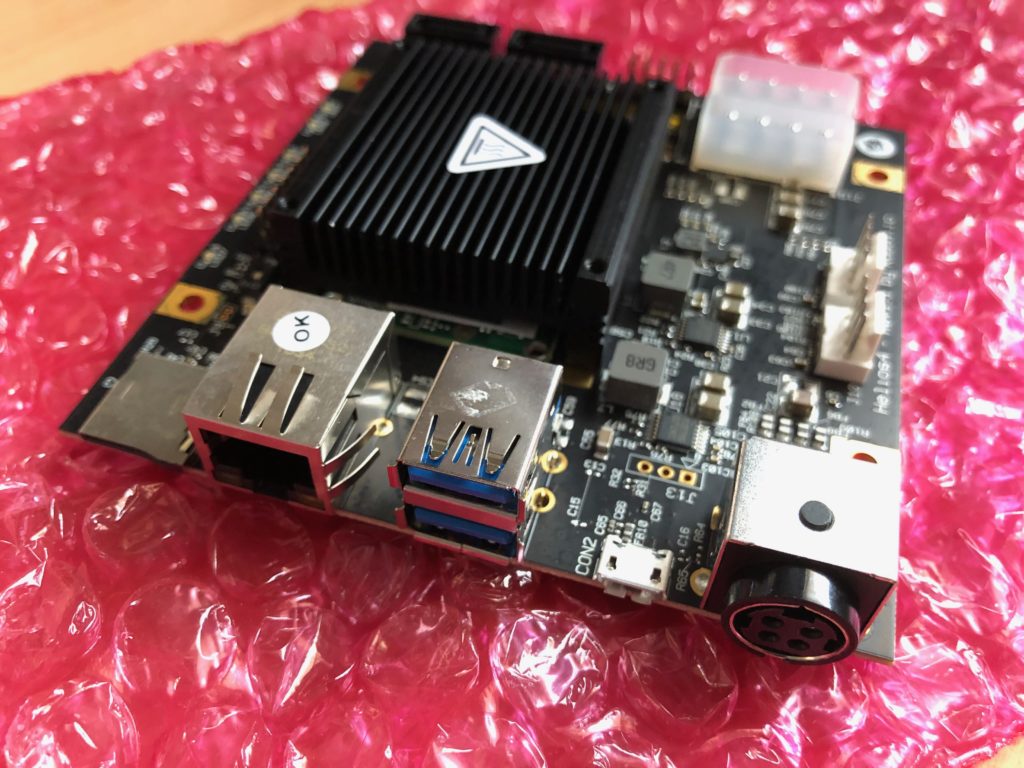
Helios 4 looks pretty great: it’s a system-on-the-chip with 4 SATA ports and a gigabit network interface, supplied with additional hardware functionality for speeding up RAID operations.
- Hardware base: Marvell ARMADA® 388 MicroSOM
- CPU: dual-core ARM Cortex A9 CPU clocked at 1.6 Ghz
- RAM: 2GB of ECC (very cool that it’s ECC!)
- Storage: 4 SATA ports + microSD card for the OS image
I got my Helios 4 as part of the 3rd wave on the campaign, it seems to be available for pre-order now.
Building Helios 4
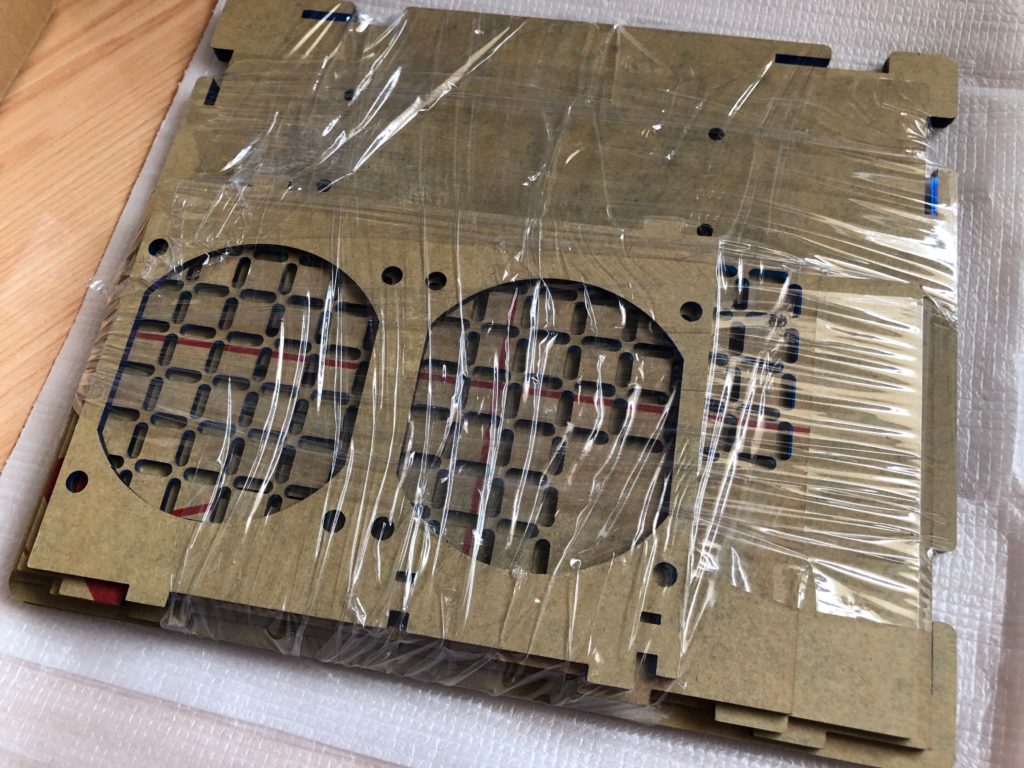
The kit arrives as a batch of parts that are practically ready to be assembled:
Helios 4 box
 Helios 4
 Helios 4 motherboard
There’s a great Wiki with setup instructions that I followed.
Let’s peel the packaging paper off:
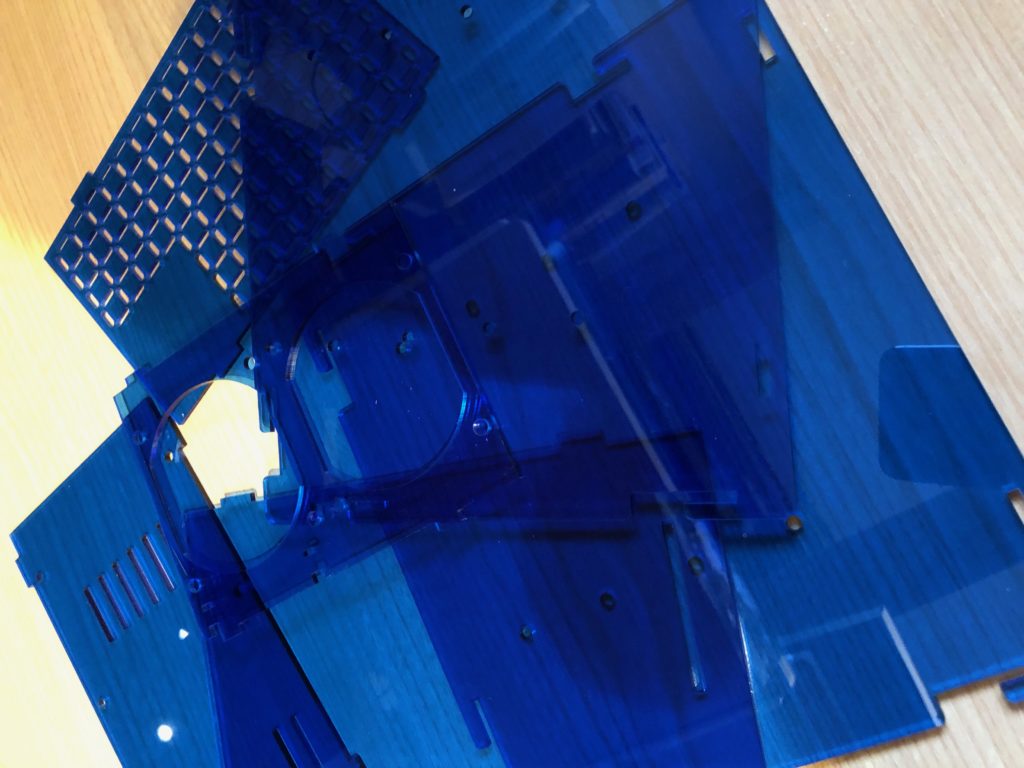 Helios 4 case
… now attach the disks:
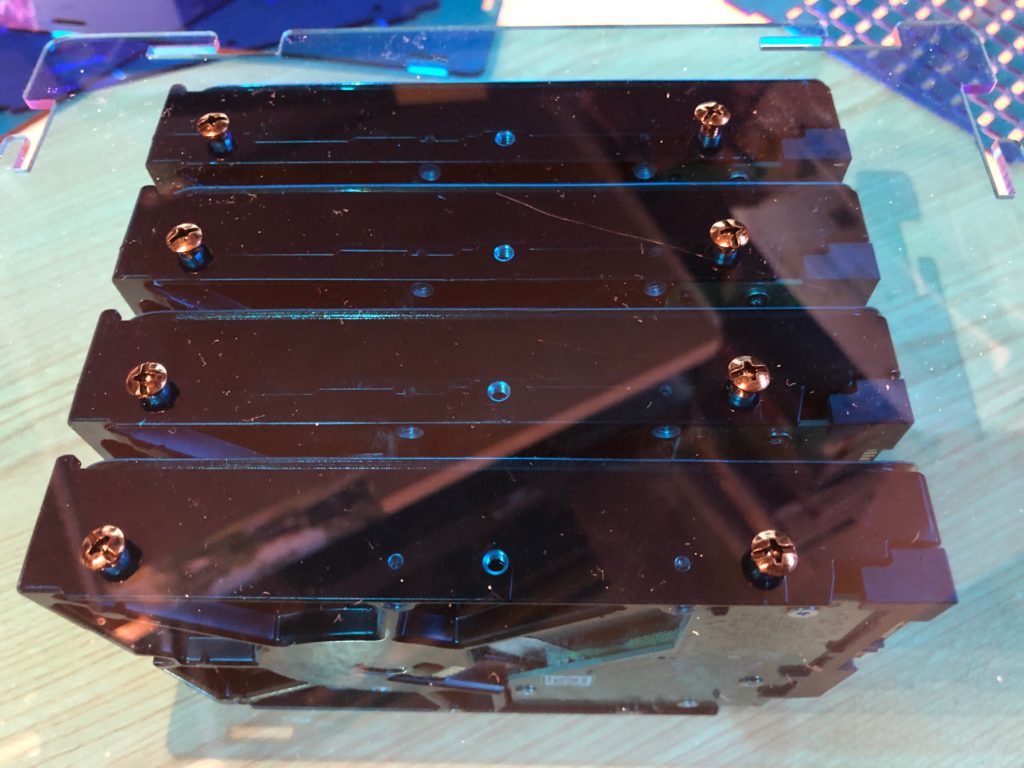 Disks in Helios 4
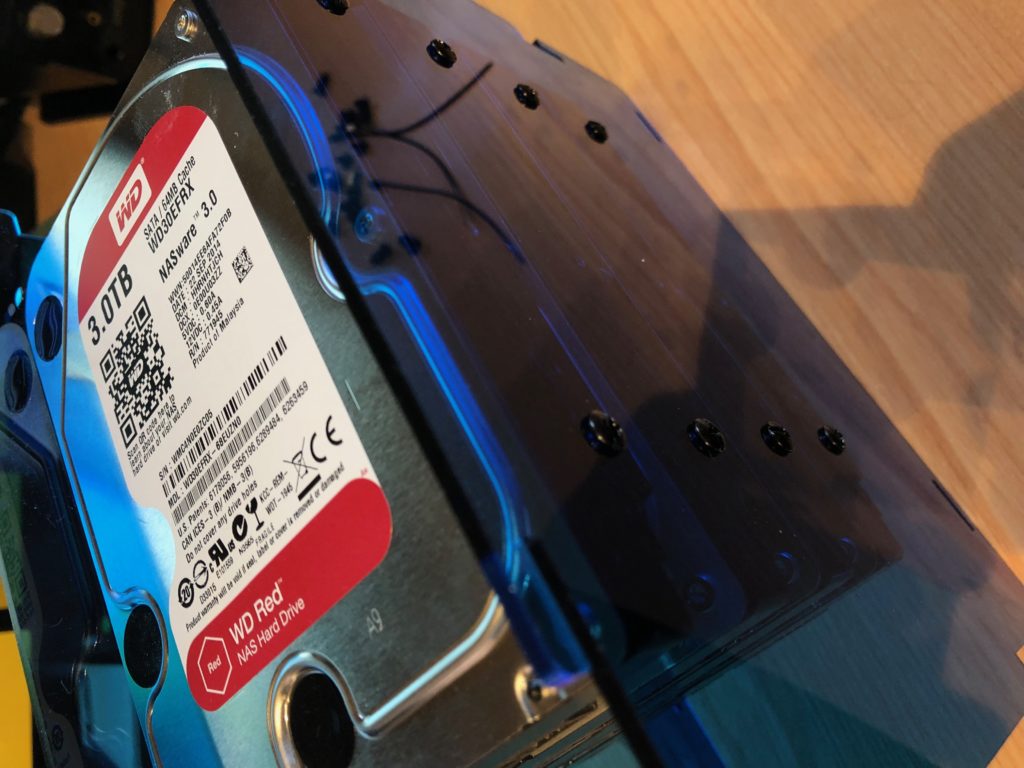 Helios 4 - NAS disks
… install motherboard:
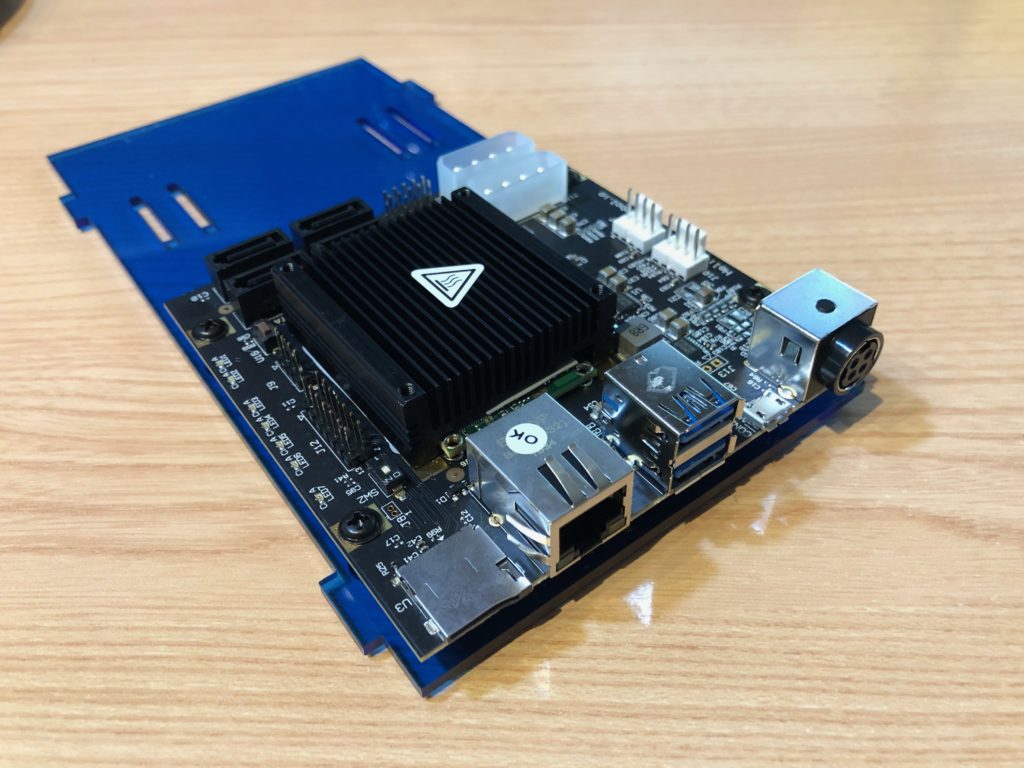 Installing motherboard for Helios 4
… and add the fans:
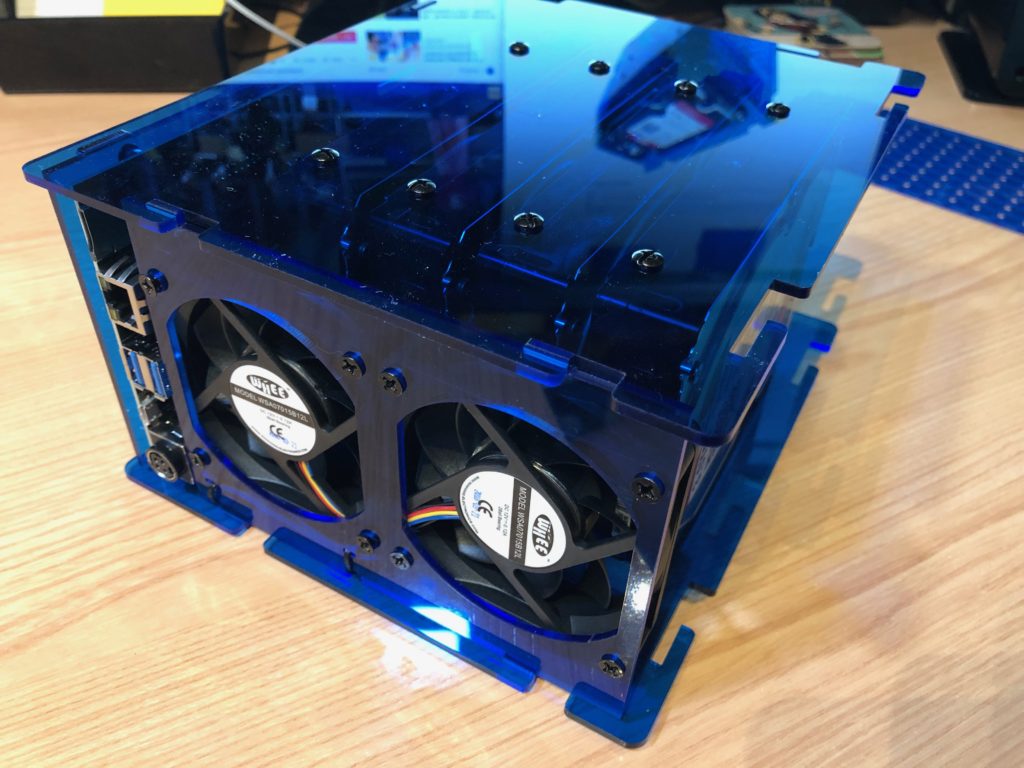 Helios 4 fans
And that’s it! We have a brand new shiny network storage, ready for software install and configuration:
 Helios 4 fully assembled
Armbian installation for Helios 4
You can download the latest Armbian version here: Kobol.io – Helios 4 images.
Let’s burn the IMG of Armbian onto a microSD card:
root@xps:~# dd if=/home/greys/Downloads/Armbian_5.77_Helios4_Debian_stretch_next_4.14.106.img | pv | dd of=/dev/mmcblk0p1 bs=1M
2121728+0 records in3MiB/s] [ <=> ]
2121728+0 records out
1086324736 bytes (1.1 GB, 1.0 GiB) copied, 39.7346 s, 27.3 MB/s
1.01GiB 0:00:39 [26.1MiB/s] [ <=> ]
0+13928 records in
0+13928 records out
1086324736 bytes (1.1 GB, 1.0 GiB) copied, 108.371 s, 10.0 MB/s
root@xps:~# ls
Cool! Now we just put this into the Helios 4 system and power it on. Now would also be the time to connect the USB to microUSB cable into my XPS Laptop and use the picocom to connect over it to the Helios 4 console (I had to apt install picocom). Since I use the Dell XPS 13 2019 model, there are no USB ports – only USB-C. So in my case the console connection is: USB-C adapter -> USB cable -> micro-USB connector plugged into Helios 4.
greys@xps:~$ sudo picocom -b 115200 /dev/ttyUSB0this will eventually show the fully booted OS and progress with Helios 4 setup:
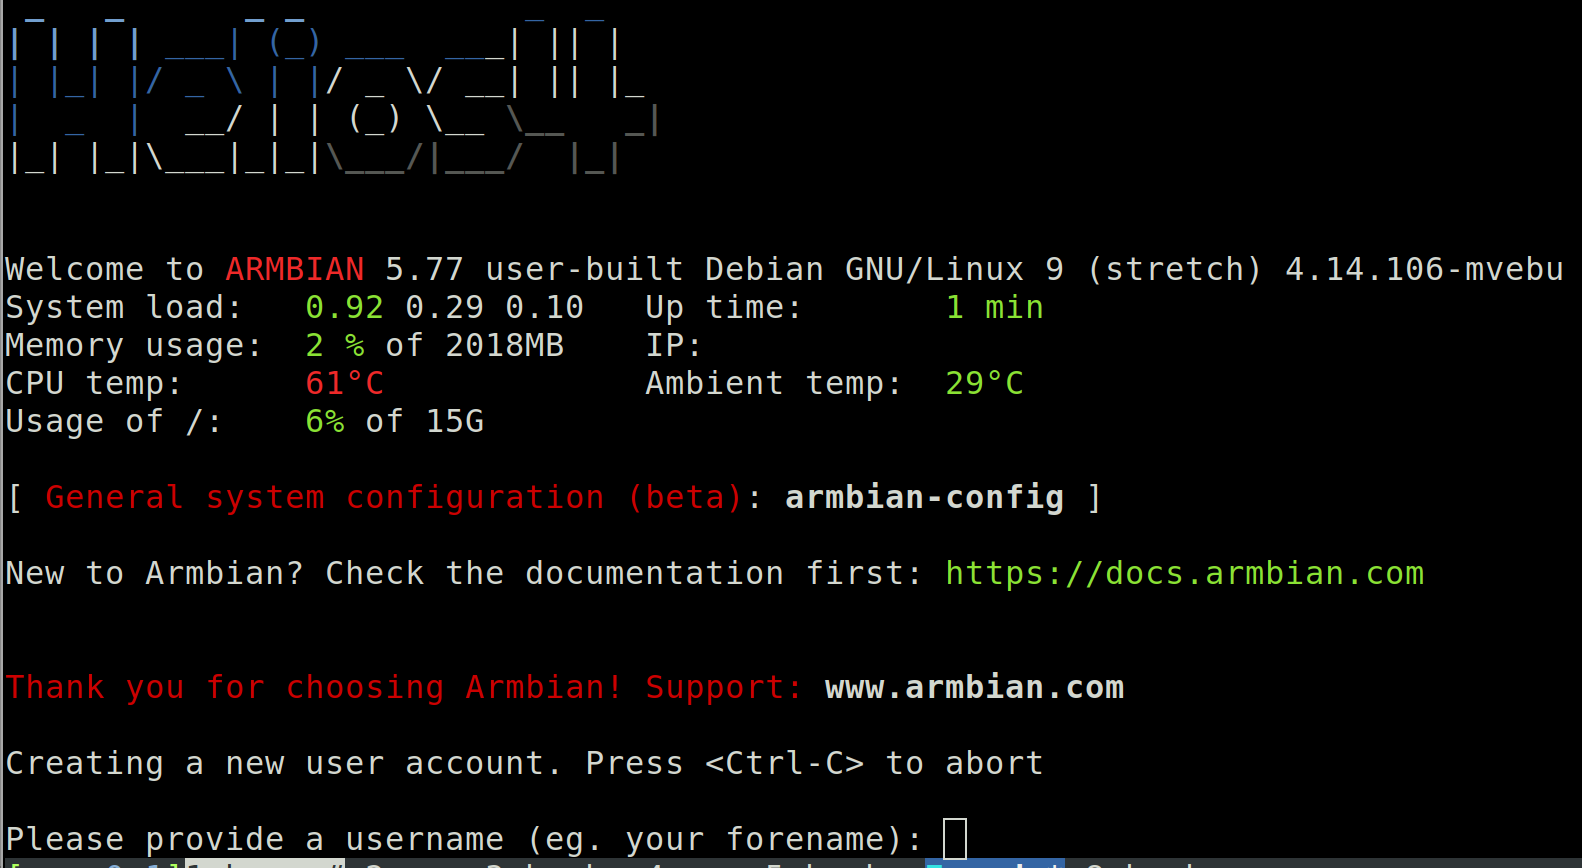 Helios 4 first boot
I have configured my account greys and then progresses with post configuration.
Helios 4 Post Configuration
When you boot, you get a fully working Debian Stretch based system, ready for post-configuration.
Step 1: configure static IP address
Once you login, it’s probably best to set the static IP address and then continue setup using SSH connection instead of USB serial.
As root, edit the /etc/network/interfaces file and add eth0 settings similar to these:
auto eth0
iface eth0 inet static
address 192.168.1.XXX
netmask 255.255.255.0
gateway 192.168.1.1IMPORTANT: don’t forget to replace 192.168.1.XXX with a correct IP address in your network, like 192.168.1.123. Same goes for the gateway IP address.
Once changes are made, reboot using shutdown -r now and reconnect using ssh.
Step 2: install the OpenMediaVault
Run the armbian-config command as root and select Software
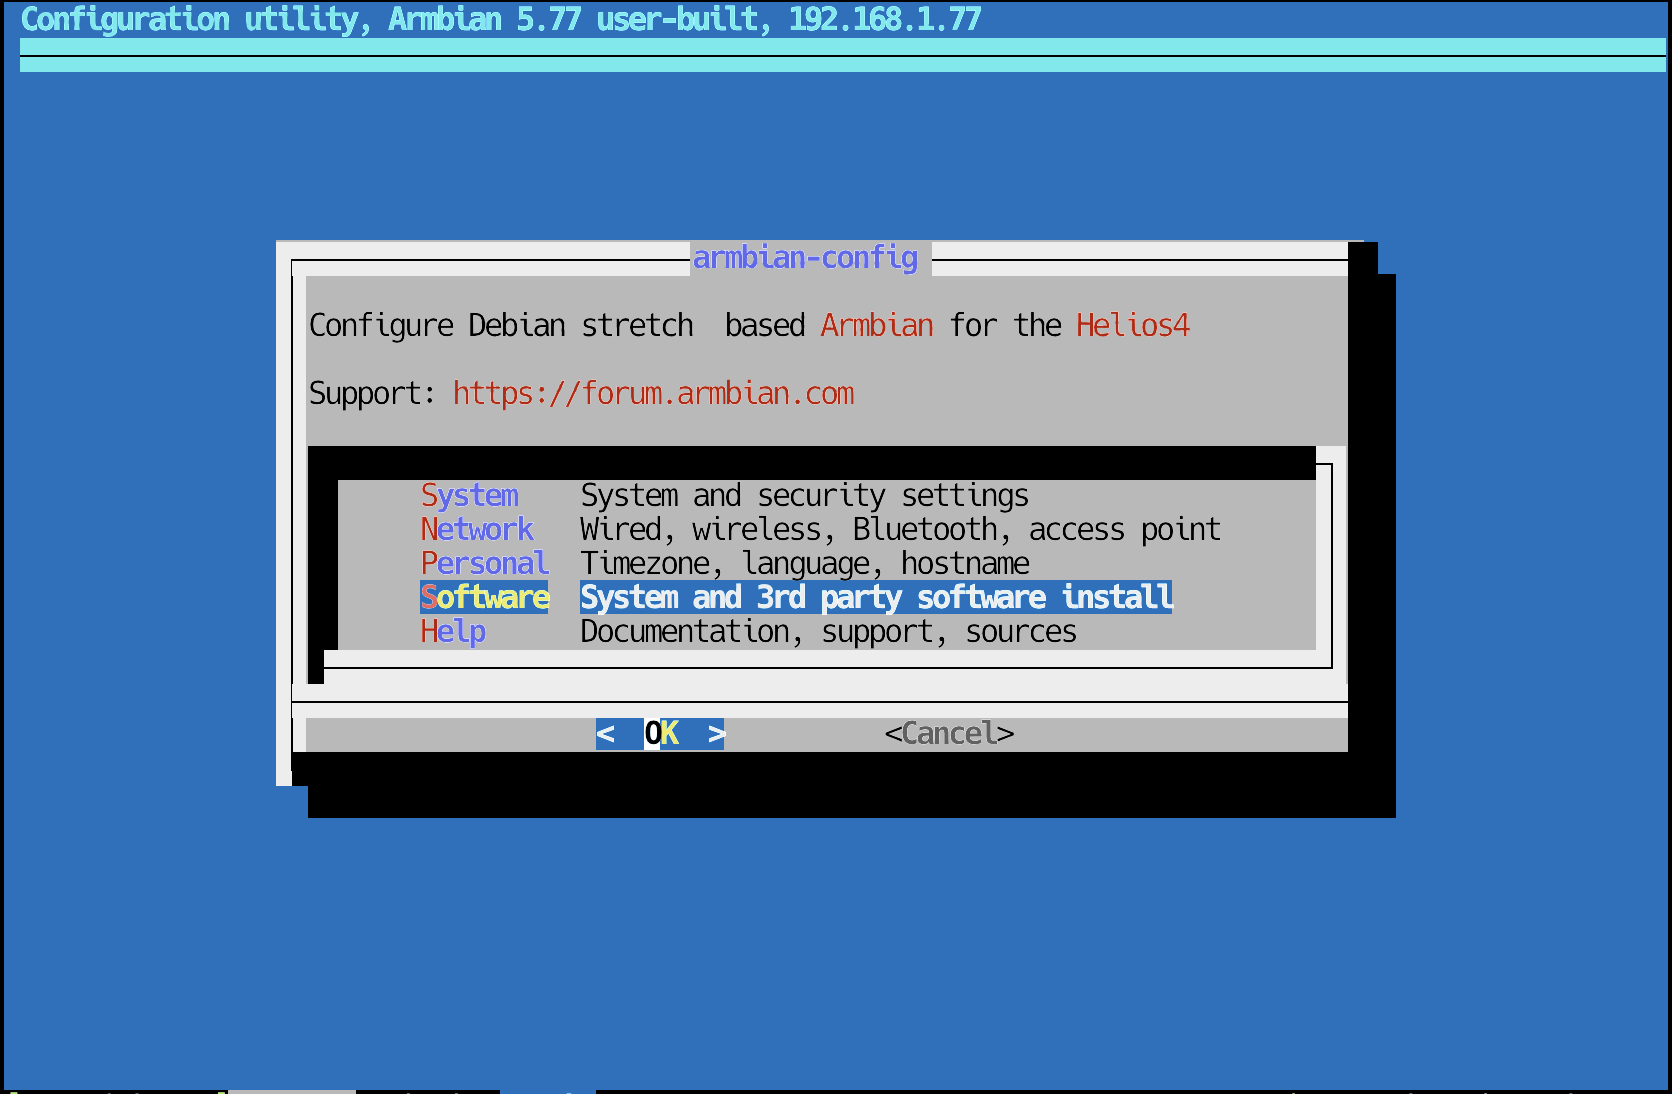 armbian-config
… then select Softy:
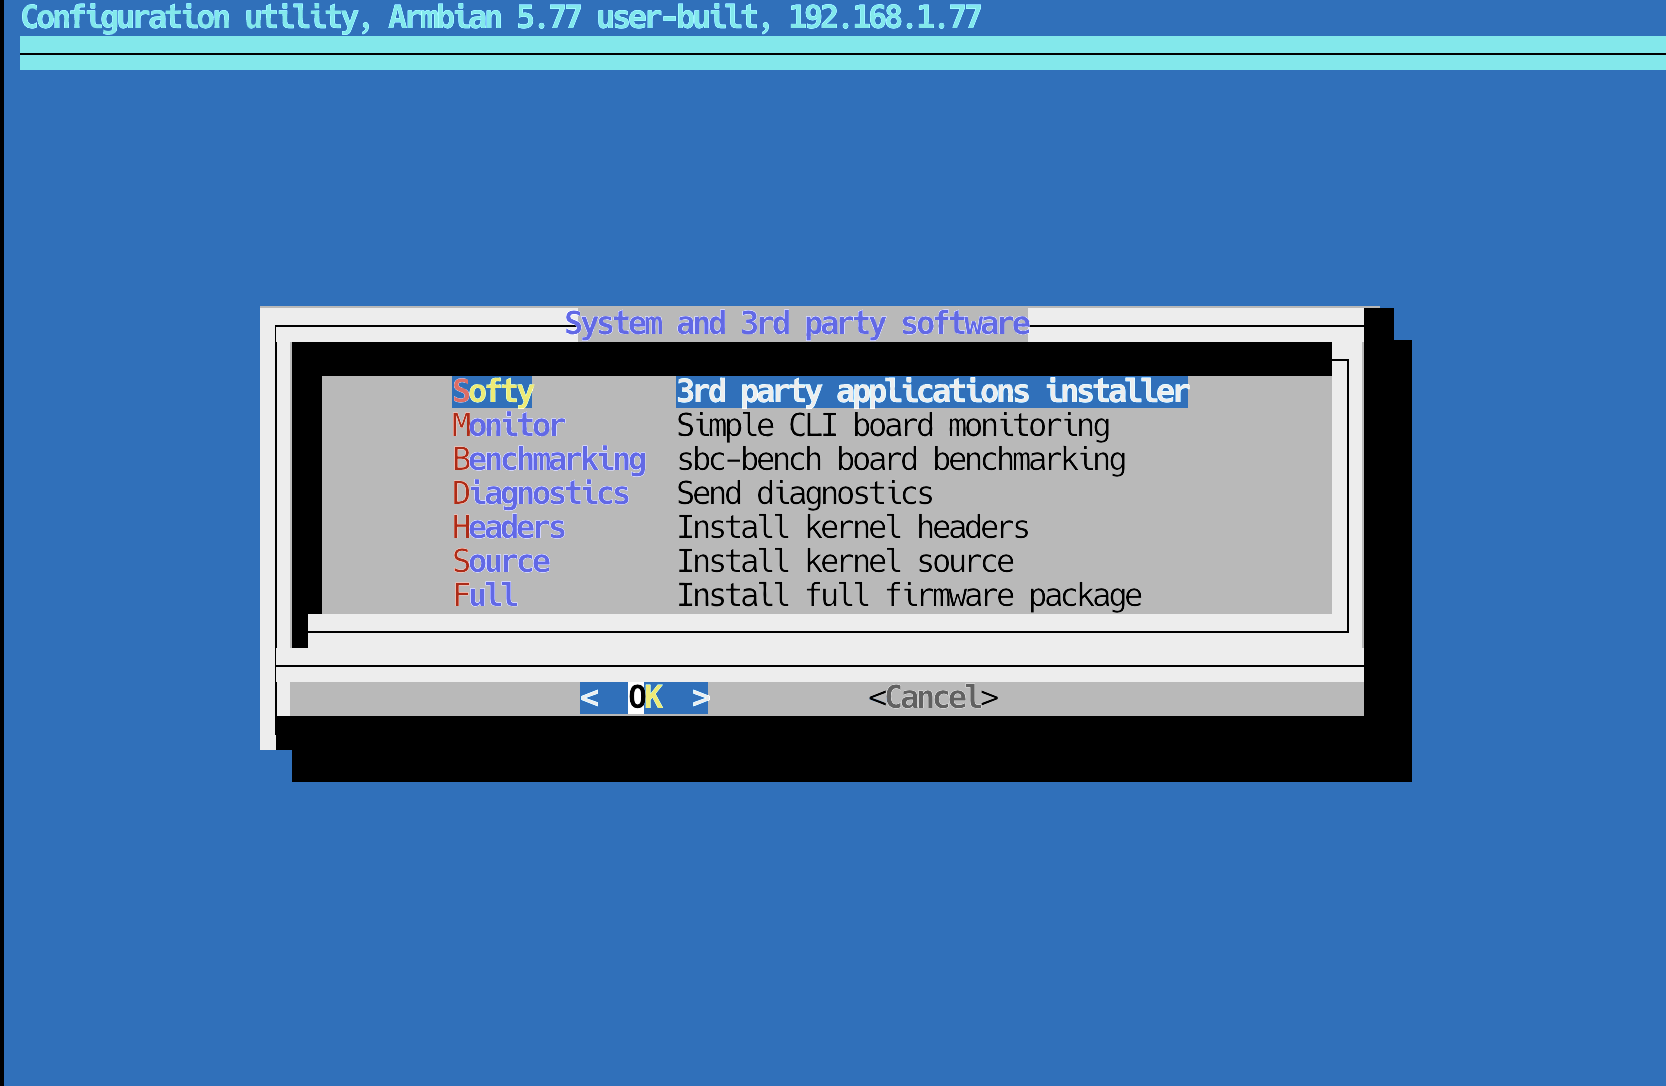 Installing Softy in Armbian
… and then select OMV:
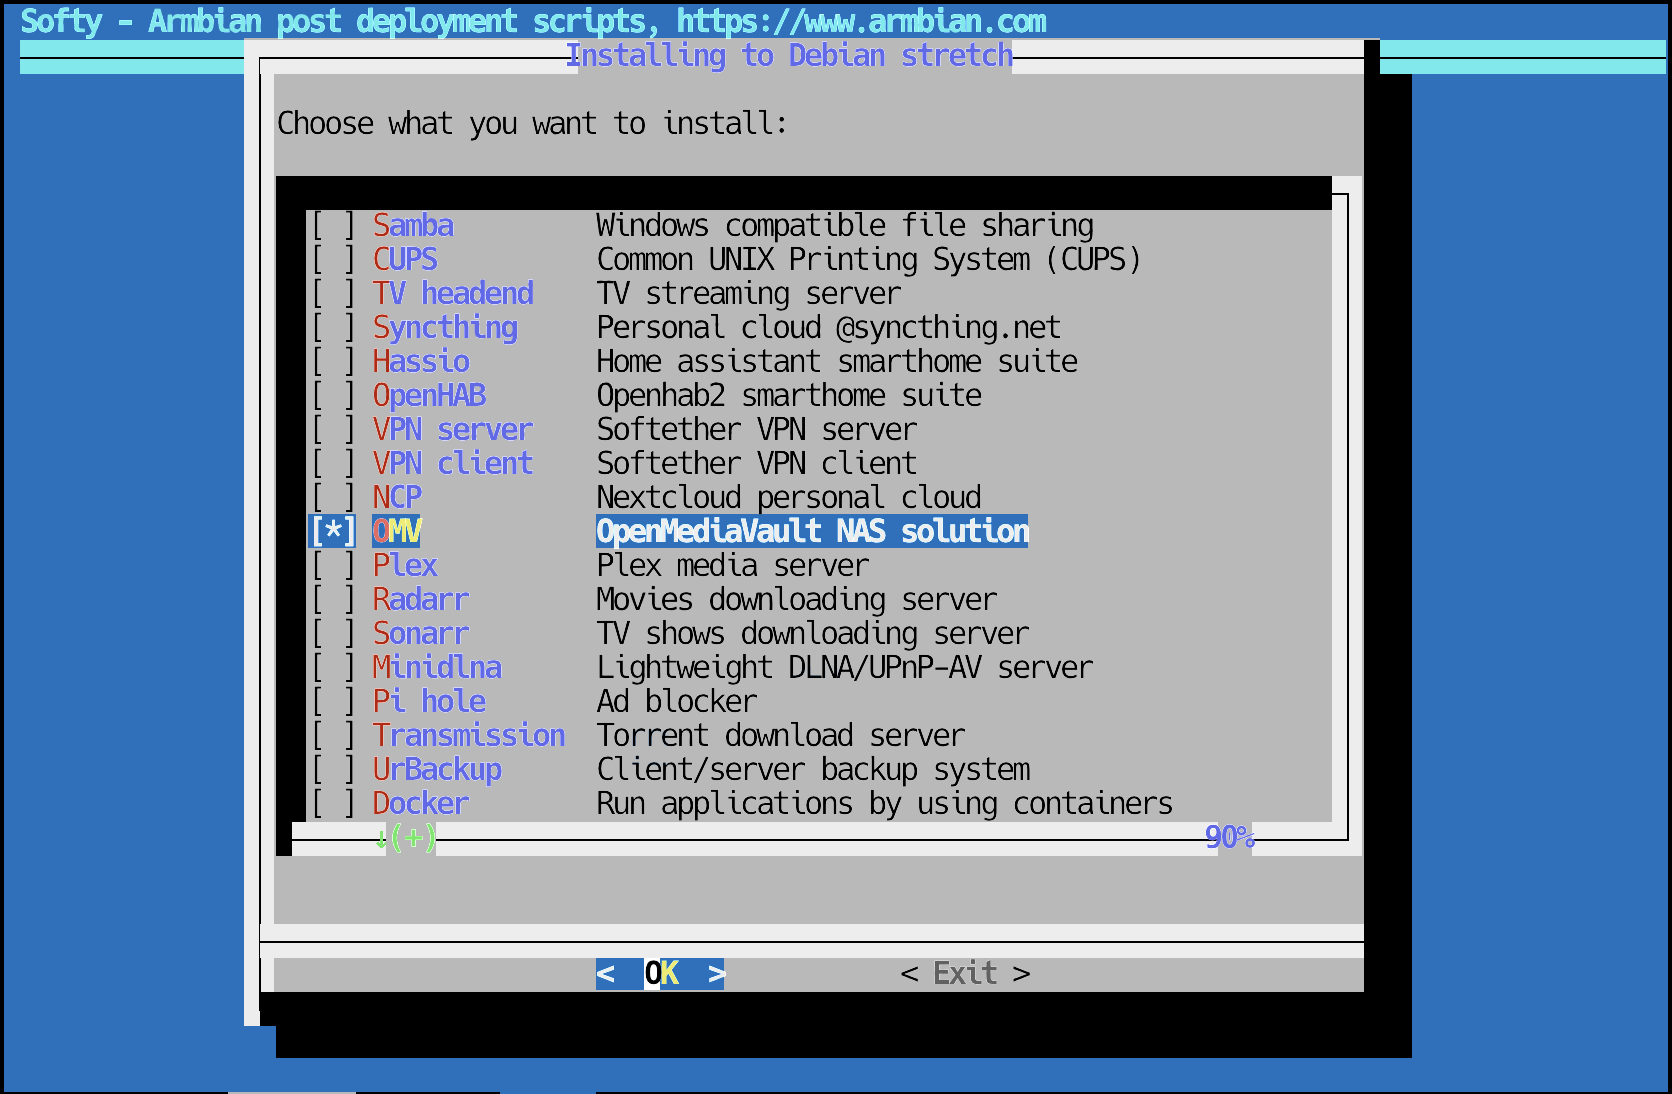 Installing OpenMediaVault
that’s it: we can now open the IP address in our browser and login using default admin user (username: admin, password: openmediavault):
 OpenMediaVault dashboard
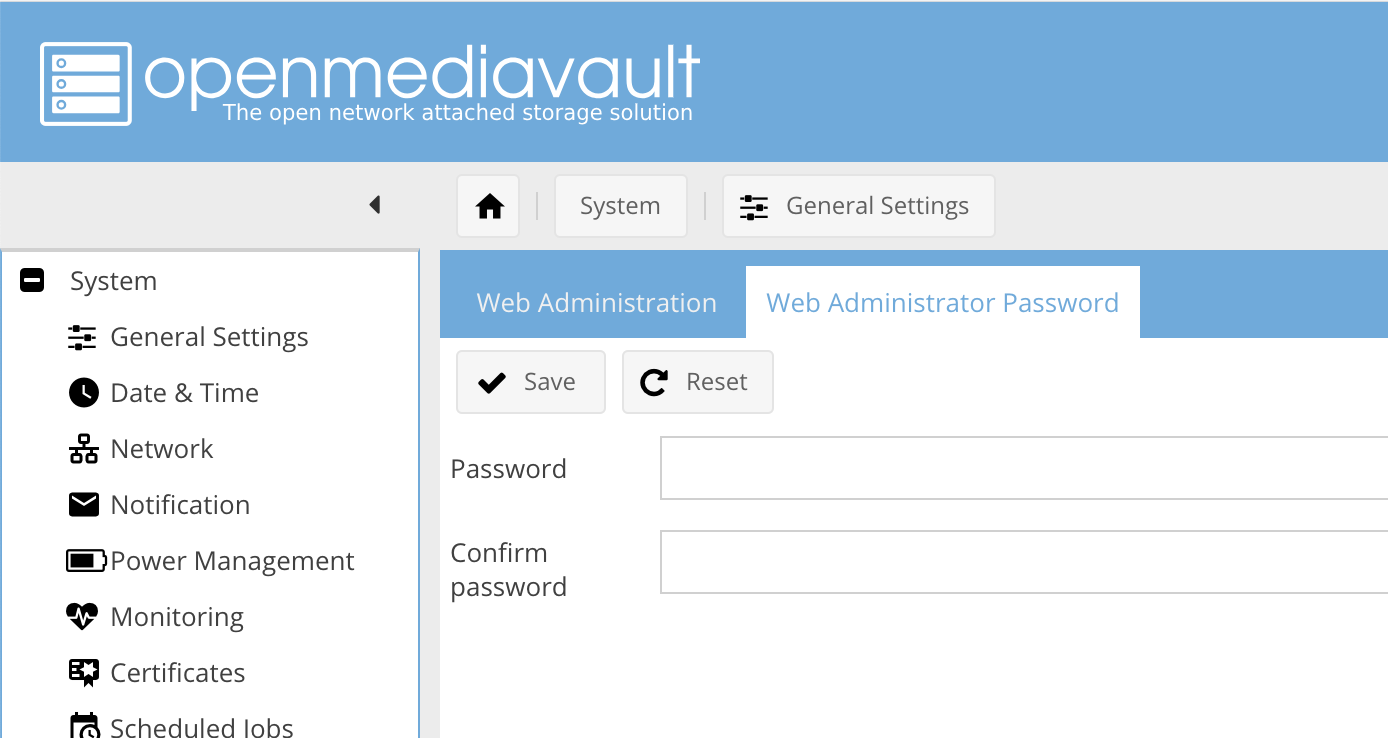
Step 3: change default OpenMediaVault login
This is admin/openmediavault initially, so change the password as soon as you can using General Settings and Web Administrator Password section:
 Changing password in Open Media Vault
Always Apply Your OpenMediaVault Changes
VERY IMPORTANT: one rather annoying feature of OpenMediaVault is that you have to apply all of your changes. You can create new users or configure shares or even build RAID arrays, but that’s all happening in the OMV interface. You have to click the Apply in the yellow status prompt at the top part of your browser window with OMV to actually commit changes and restart relevant services. The reason this is annoying is because this yellow prompt doesn’t show up immediately, so when you move to a different section of OpenMediaVault administration you may forget about it and not apply changes until much later.
Here’s an example of this thing:
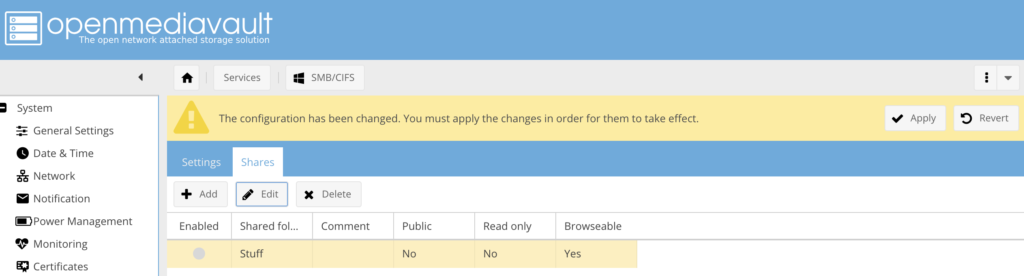 Helios 4 - OpenMediaVault
RAID5 setup on Helios 4
From the main menu of the OMV, I created a RAID5 array using the 4 disks I have available.
I contemplated getting a 2-disk parity setup, but decided against it because this NAS server is a secondary storage device in my home office – I have a Synology system running 2-disk parity with larger disks.
The plan for Helios 4 system is therefore to be about 8.5TB of NAS storage for immediate backups and temporary projects. Critical data will be backed up to the Synology NAS system in parallel (definitely NOT from Helios 4 to Synology, but directly from backup clients).
Check which disks you have:
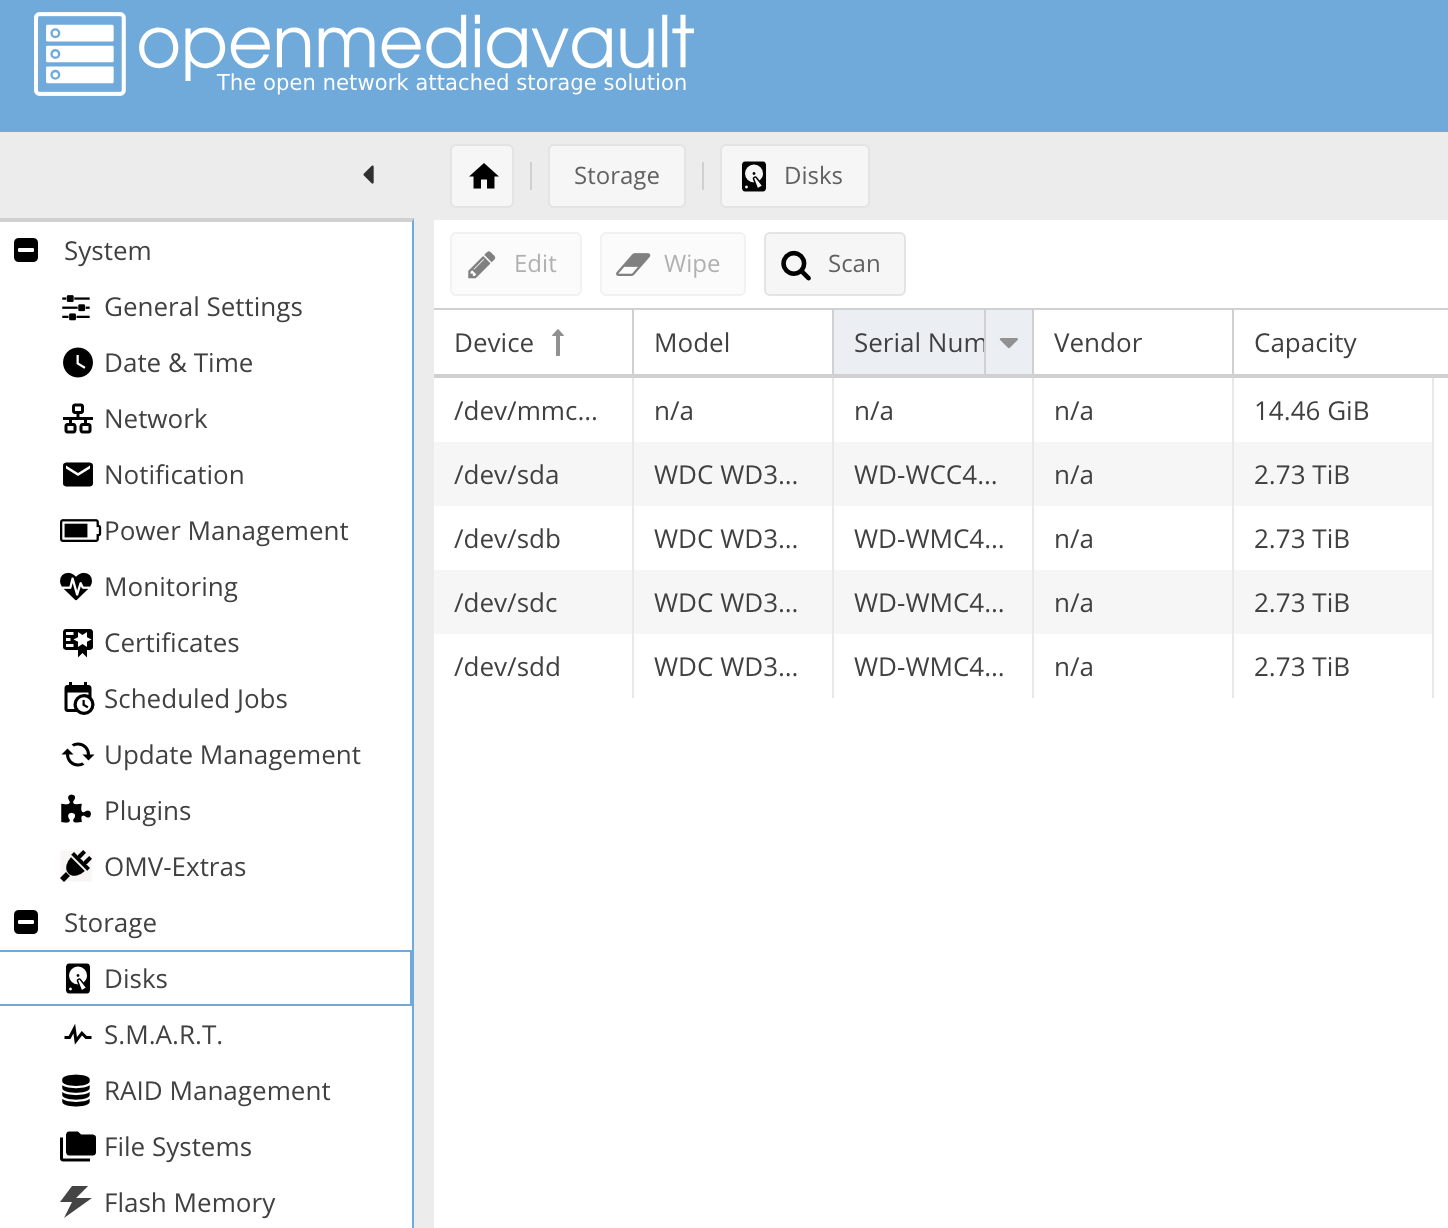 OpenMediaVault NAS disks
Now erase (wipe) each one of them:
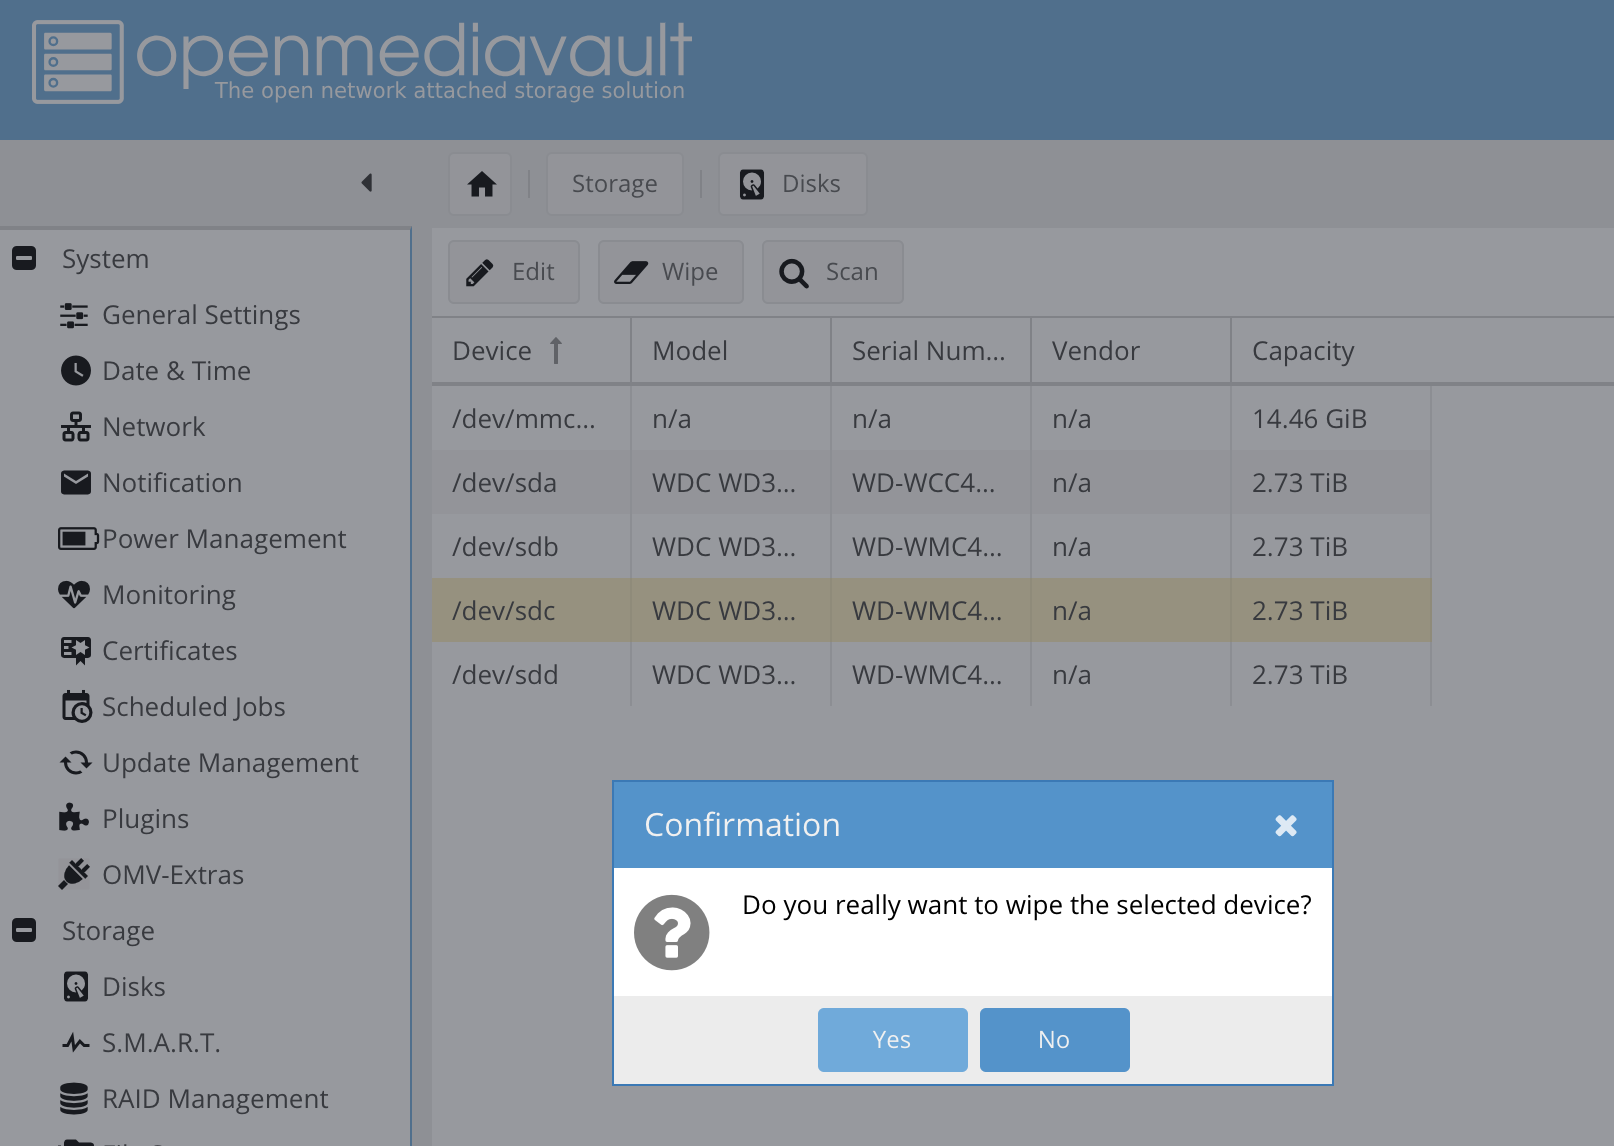 Erasing disks in OpenMediaVault
Here’s how RAID5 is created:
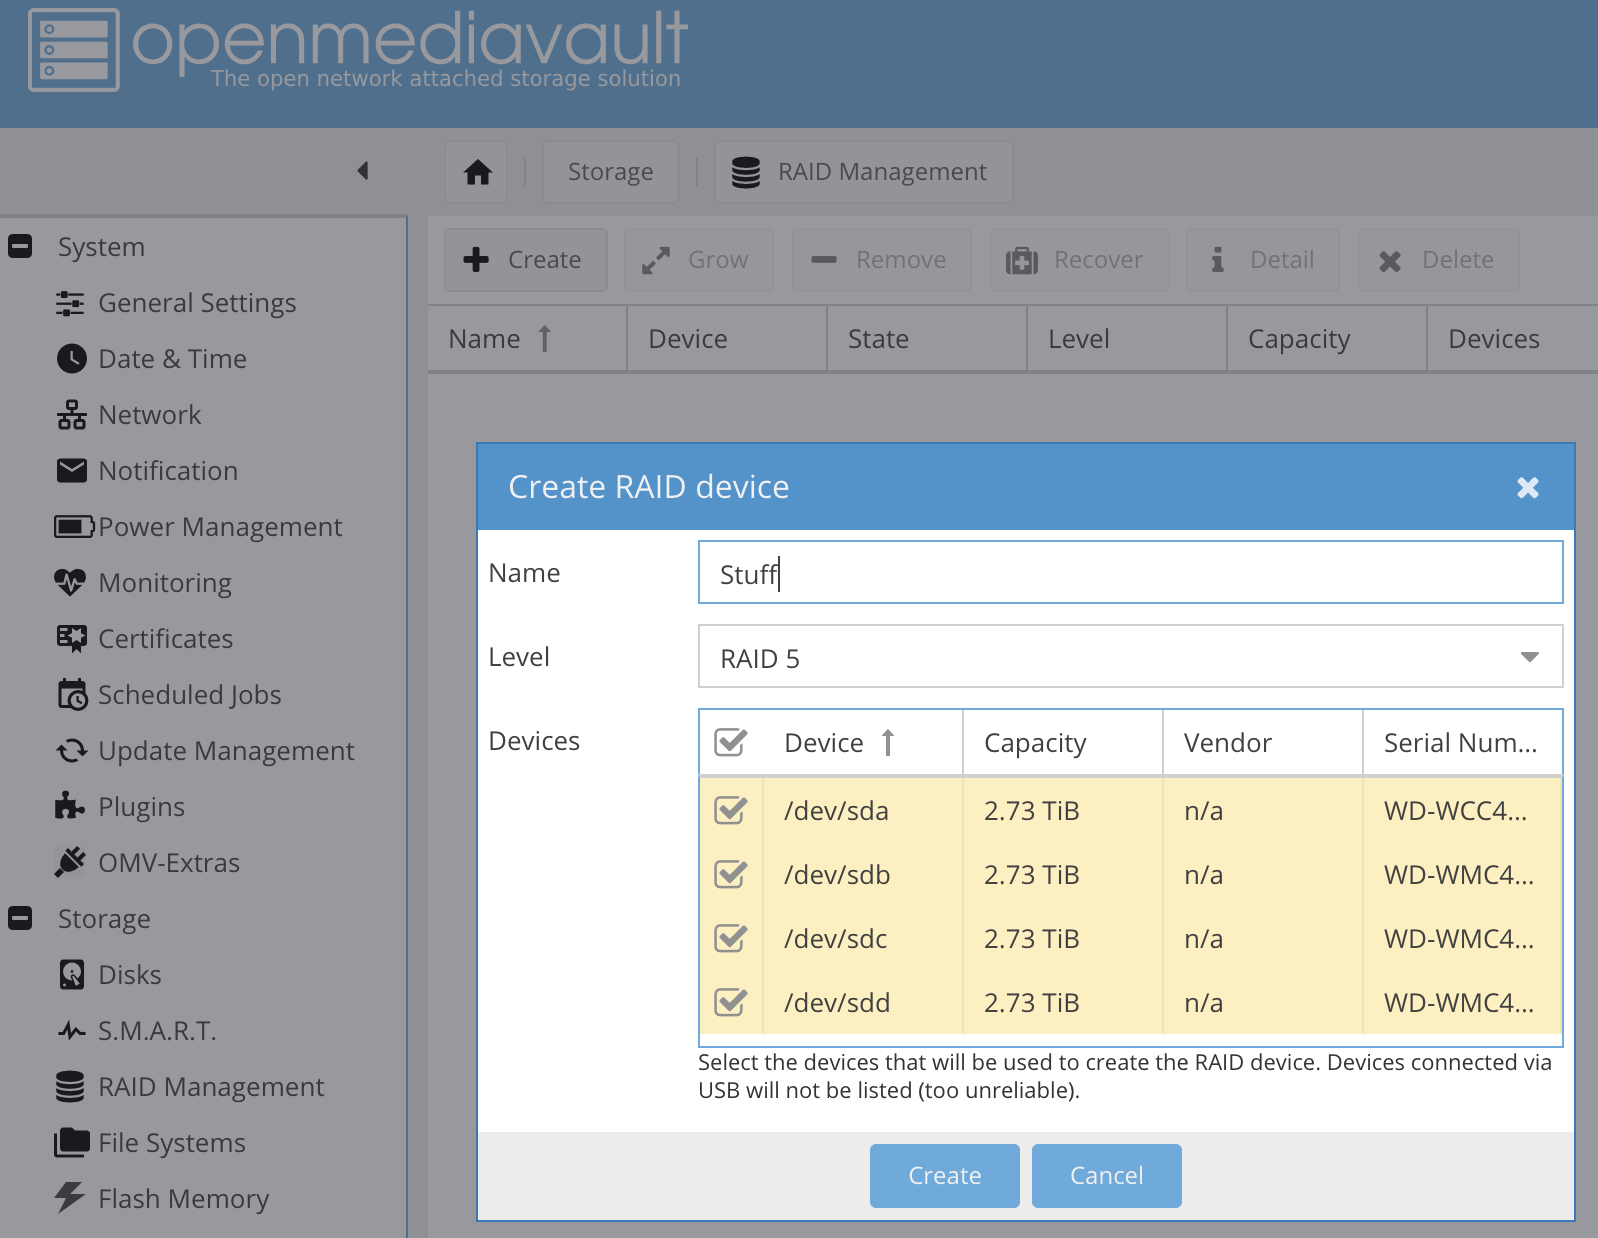 Creating RAID5 in OpenMediaVault
And here you can see how it looks from the command line:
root@helios4:~# mdadm --detail /dev/md0
mdadm: Unknown keyword INACTIVE-ARRAY
/dev/md0:
Version : 1.2
Creation Time : Sun Apr 7 23:22:37 2019
Raid Level : raid5
Array Size : 8790405120 (8383.18 GiB 9001.37 GB)
Used Dev Size : 2930135040 (2794.39 GiB 3000.46 GB)
Raid Devices : 4
Total Devices : 4
Persistence : Superblock is persistent

Intent Bitmap : Internal

Update Time : Sun Apr 7 23:23:14 2019
State : clean, resyncing
Active Devices : 4
Working Devices : 4
Failed Devices : 0
Spare Devices : 0

Layout : left-symmetric
Chunk Size : 512K

Resync Status : 0% complete

Name : helios4:0 (local to host helios4)
UUID : 97115daa:993d28e6:50a61a7c:c980f755
Events : 9

Number Major Minor RaidDevice State
0 8 16 0 active sync /dev/sdb
1 8 0 1 active sync /dev/sda
2 8 32 2 active sync /dev/sdc
3 8 48 3 active sync /dev/sdd
root@helios4:~#
The performance is pretty impressive: initial RAID5 re-sync is happening with the average speed of 80MB/sec (default non-prioritised sync on my 2-disk parity Synology system was around 20MB/sec last time I checked):
root@helios4:~# cat /proc/mdstat
Personalities : [raid0] [raid1] [raid6] [raid5] [raid4] [raid10]
md0 : active raid5 sdd[3] sdc[2] sda[1] sdb[0]
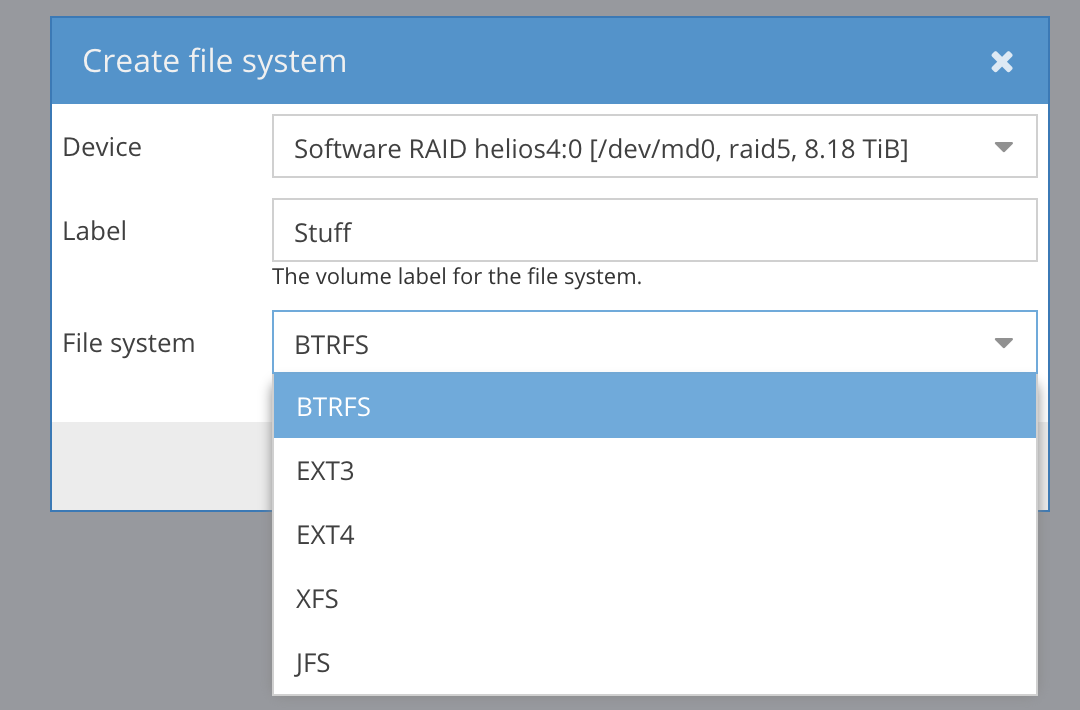
8790405120 blocks super 1.2 level 5, 512k chunk, algorithm 2 [4/4] [UUUU] [=>……………….] resync = 8.5% (250402304/2930135040) finish=555.8min speed=80342K/sec bitmap: 21/22 pages [84KB], 65536KB chunkEven before this re-syncing completes, you can create filesystem on the RAID5 array that was just created:
 Creating filesystems in Helios 4
 Creating BTRFS filesystem in OpenMediaVault
Once filesystem is created, it’s possible to progress to shared folders and network shares setup.
Network Shares Setup
After wasting quite a few days trying to access basic network shares using my primary user on the new NAS system, I realised that it was a mistake: that user was for administrative purposes, and not a member of the users group. Turns out, I either need to add users group membership for greys or create another user specifically for network share access.
After brief consideration I decided to go with a separate user called nas: passwords have to be in clear text form in some of my automation scripts, and so it makes sense to use specific user instead of risking password of an admin user to be leaked.
Add shared folder:
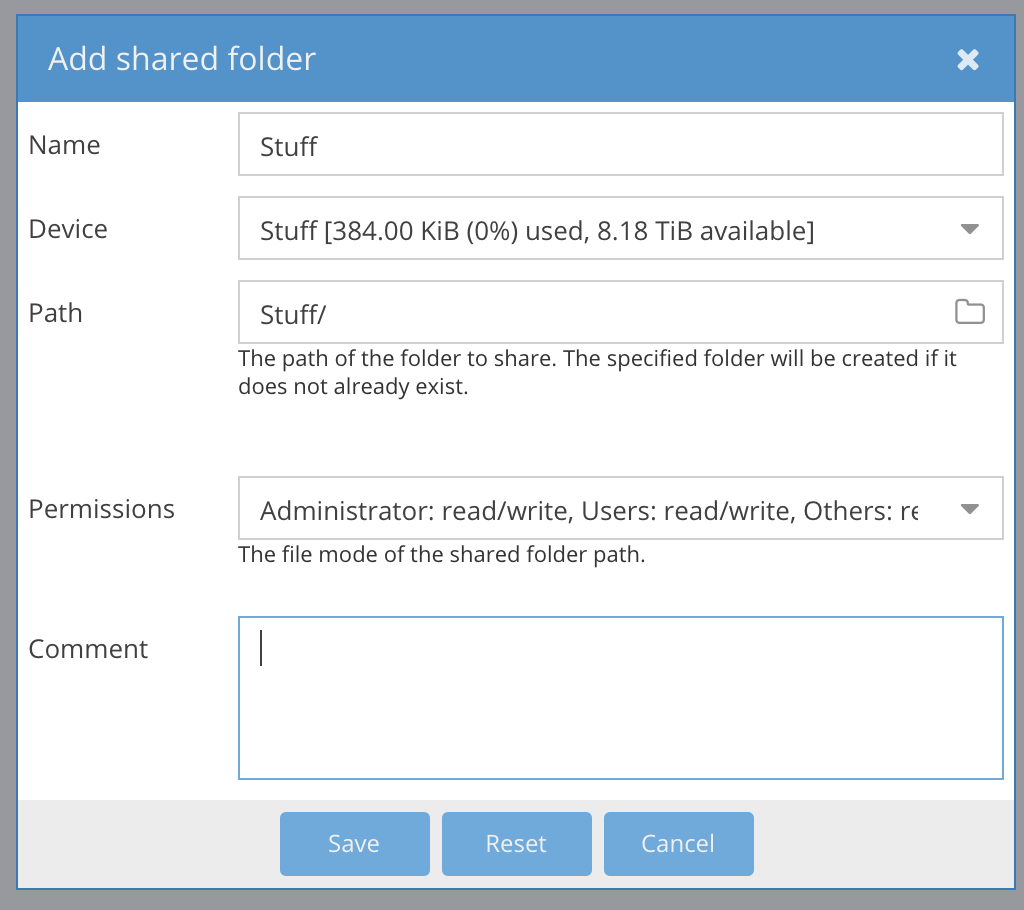 Sharing a folder in OpenMediaVault
Now you need to enable sharing service, select the ones you need from the menu and tick Enable option like this:
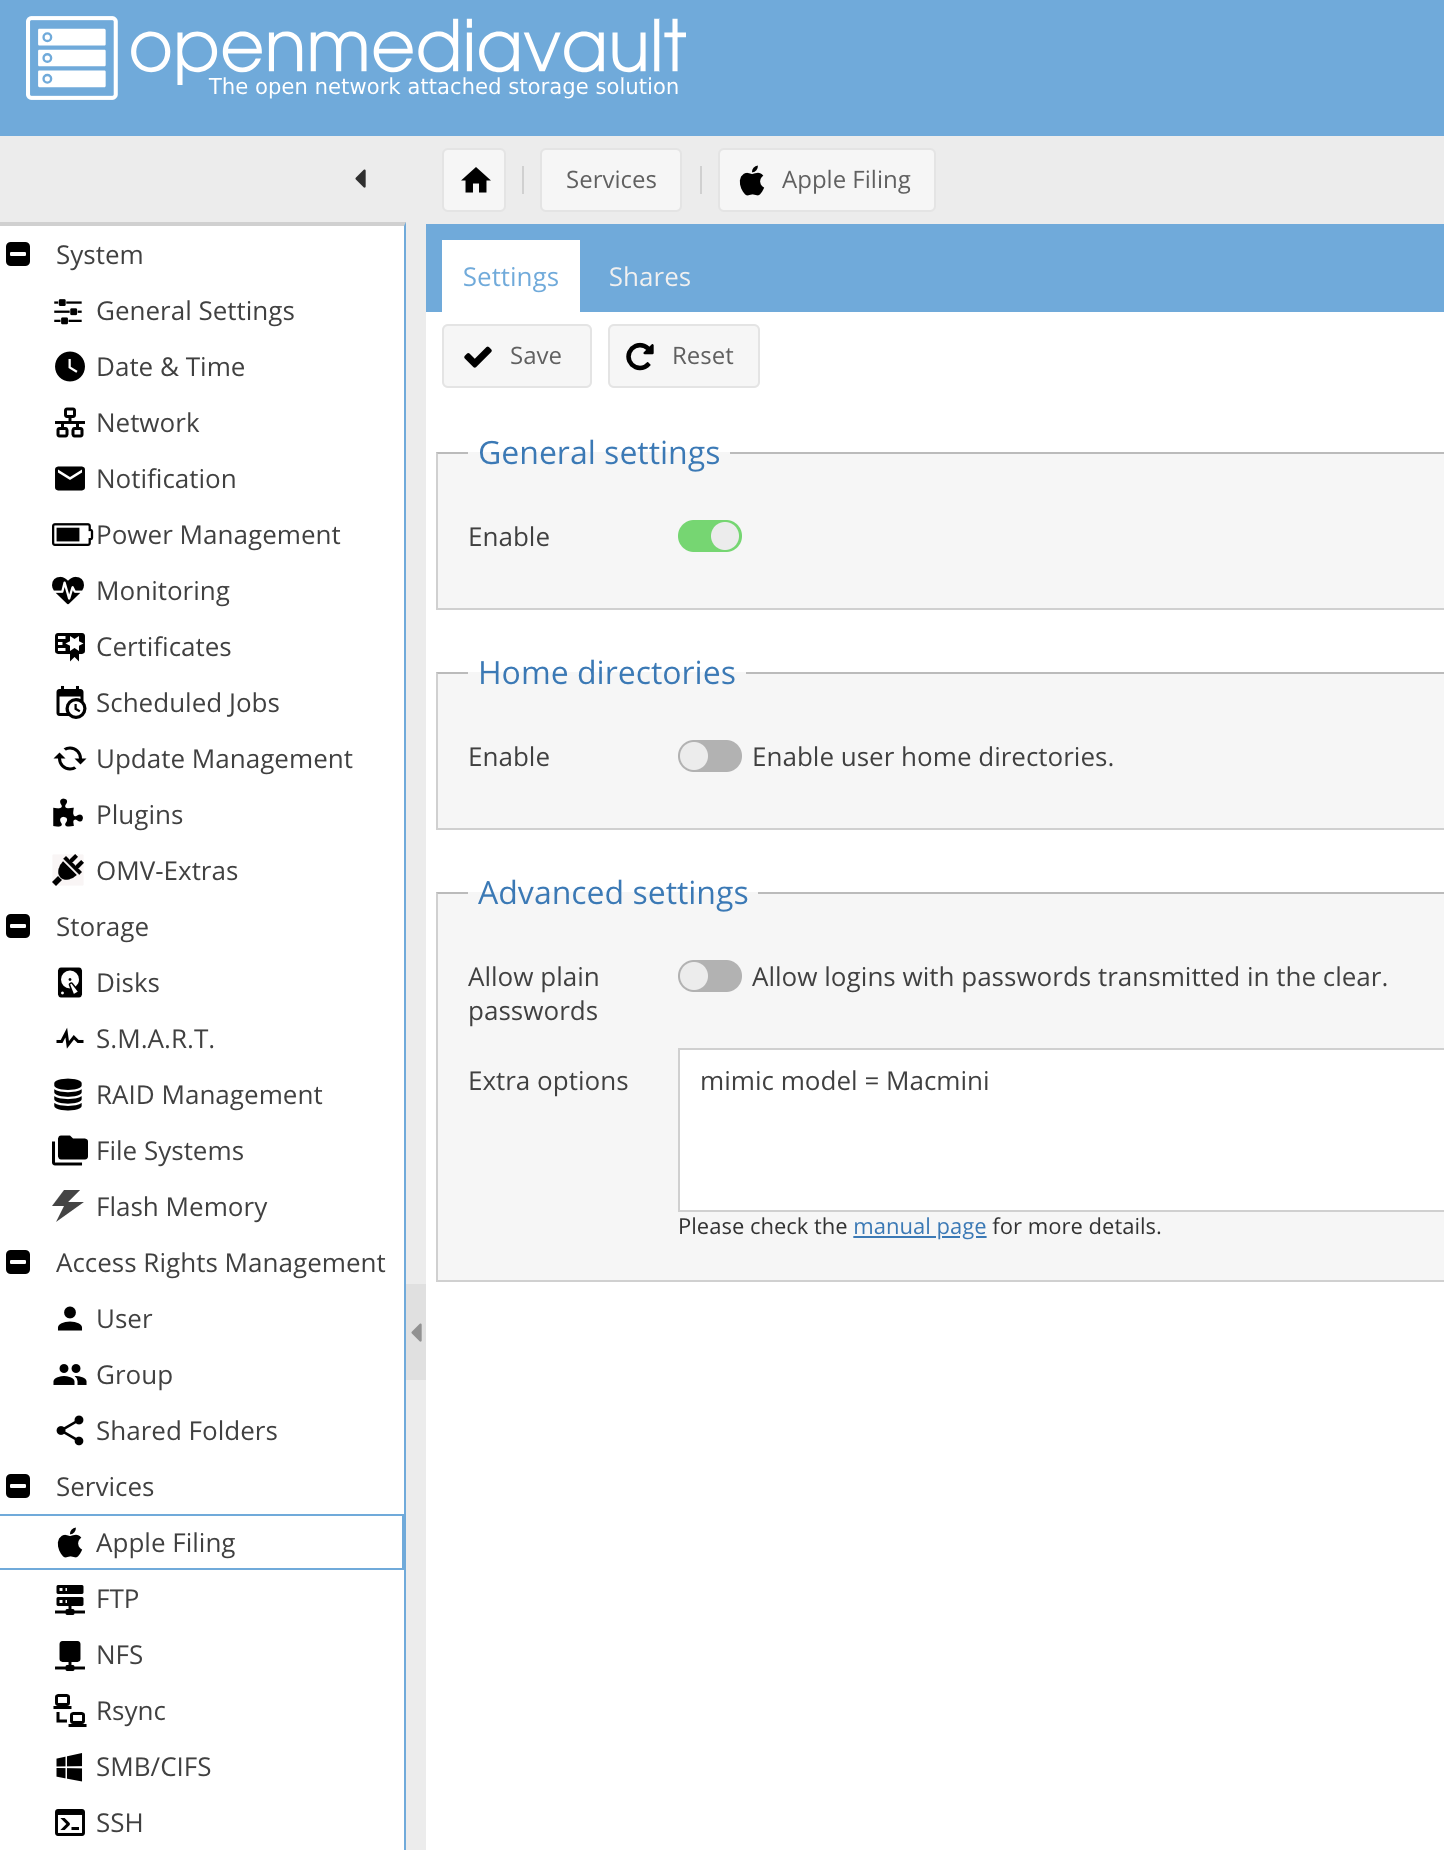 Enabling sharing in OpenMediaVault
You can always select the Dashboard in the menu to see which services are enabled:
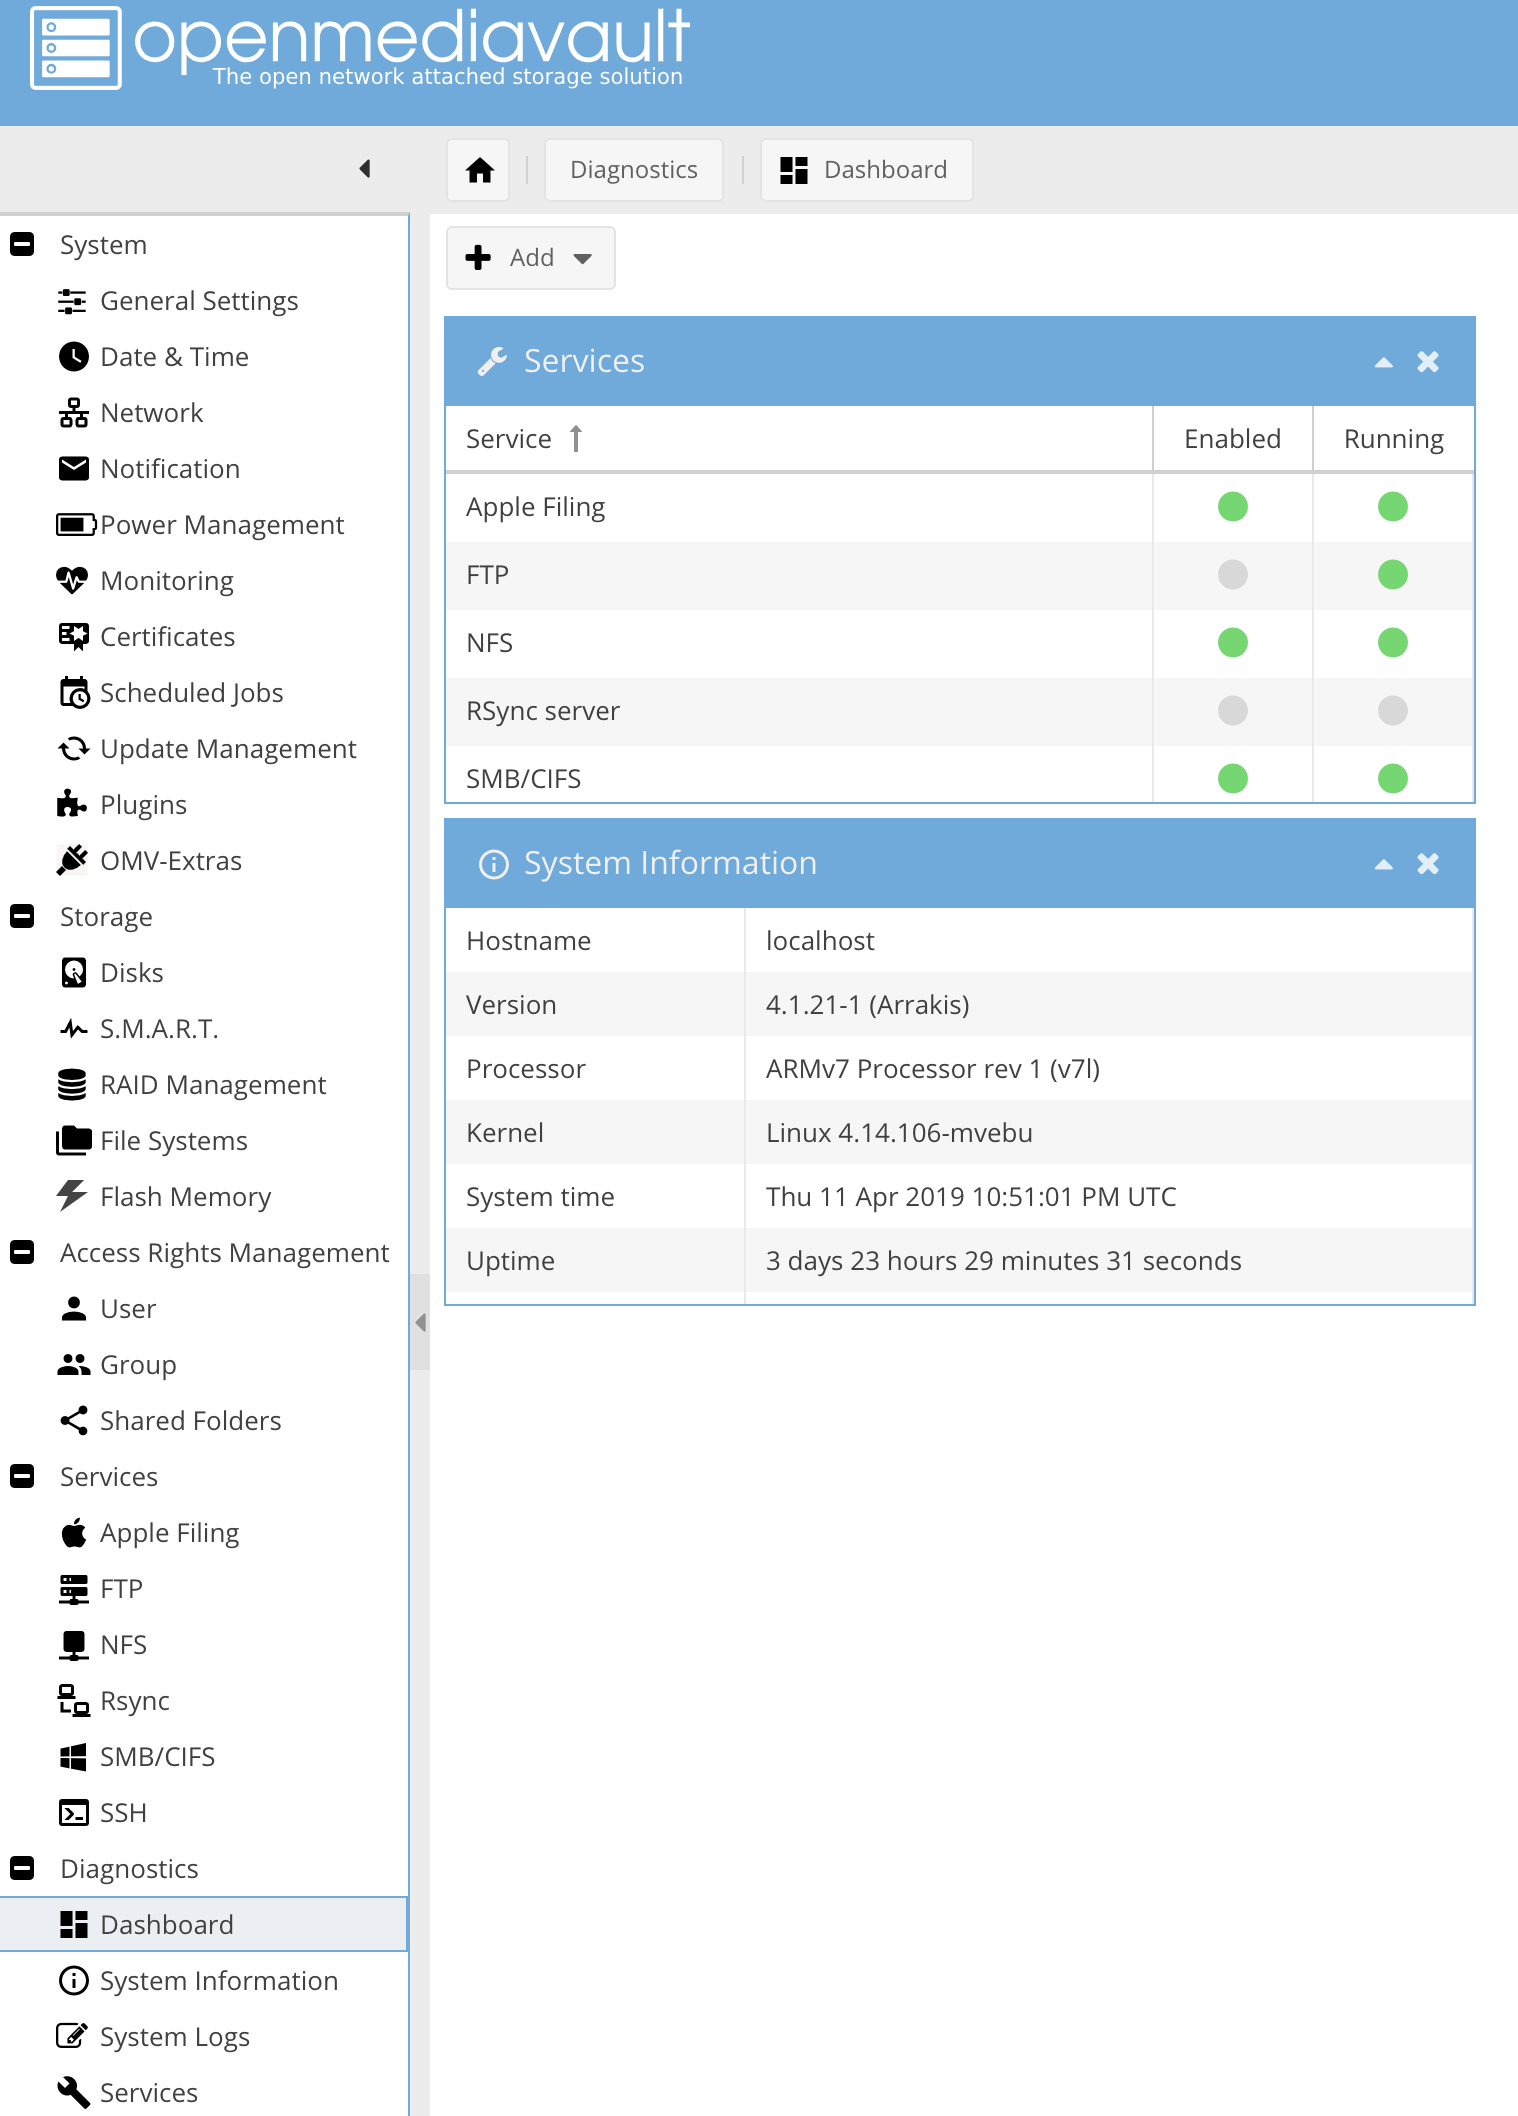 Dashboard in OpenMediaVault
For every shared folder you create, be sure to set the privileges:
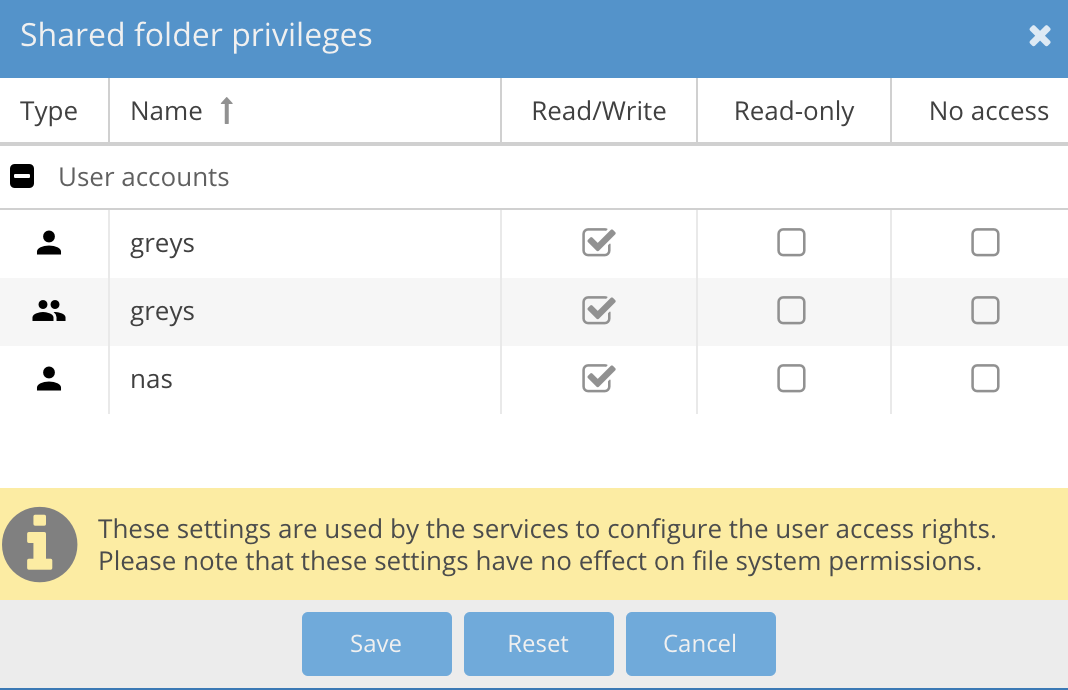 Shared folder privileges
Mounting NAS storage from MacOS
So far I only accessed storage from Windows and MacOS.
Here are the commands I used for mounting APF (Apple Filing Protocol) share and CIFS (Windows/Samba) share – they both point to the same folder on the Helios 4 storage, actually.
First, create mountpoints:
maverick:~ root# mkdir /windows_try /afp_tryNow, let’s try Windows share access:
maverick:~ root# mount_smbfs
smb://nas:[email protected]/Stuff /windows_try
And now, MacOS style via AFP:
maverick:~ root# mount_afp
afp://nas:[email protected]/Stuff /afp_tryNote: I replaced the last octet in the helios4 IP with XXX and also swapped my real nas user password with the SECRETPASSWORD word – these need to be set to the real values of your NAS storage and user if you want to try the same setup.
Helios 4 NAS Project Summary
Things achieved with this project or scheduled for the nearest future:
- Setup open-source NAS storage with RAID5 setup using 4 disks – DONE
- Setup network share access for Windows, Linux and MacOS – DONE
- Setup nas user with SSH keys for passwordless access in MacOS and Linux – PENDING
- Setup automated rsync of project areas on my laptops to NAS storage – PENDING
- Setup automated downloads of my hosting backups to new NAS storage – PENDING
- Setup secondary RSyslog server on the new NAS storage – PENDING
That’s it for now! I’m glad I completed this project at last – Helios 4 seems like a fun system to use and a great option for exploring ways of configuring and presenting NAS storage using latest software solutions available.
See Also
- Unix Tutorial projects
- Project: compiling Brave browser in Linux
- Project: GitHub Pages with Jekyll
- Project: Centralised RSyslog