Project Follow-up: WordPress Blog to Jekyll

 Jekyll 4 CMS
It’s been a week since I switched this website to Jekyll 4 CMS, and I’ve been quiet because based on website stats I’m still migrating 10+ posts each day - didn’t realise quite the power of SEO long tail.
I also used this opportunity to put final touches on the blog, so this is a follow-up to the original Migrate Wordpress to Jekyll 4 project.
Configure Atom 2.0 RSS feed in Jekyll
I opted for using the standard jekyll-feed plugin.
Add the name to Gemfile
gem 'jekyll-feed'Add plugin name to _config.yml
plugins: [jekyll-paginate, jekyll-redirect-from, jekyll-feed]That’s it - rebuild your Jekyll and you’ll find that feed is available at /feed.xml location.
Sort out images situation for RSS feeds
I also used this opportunity to enhance image functionality for pages and posts. Initially I integrated images by adding fields like this to each post:
image: /images/posts/jekyll-4.png''
image_description: 'Jekyll 4'
and then showing them using element like this in _layouts/post.yaml template:
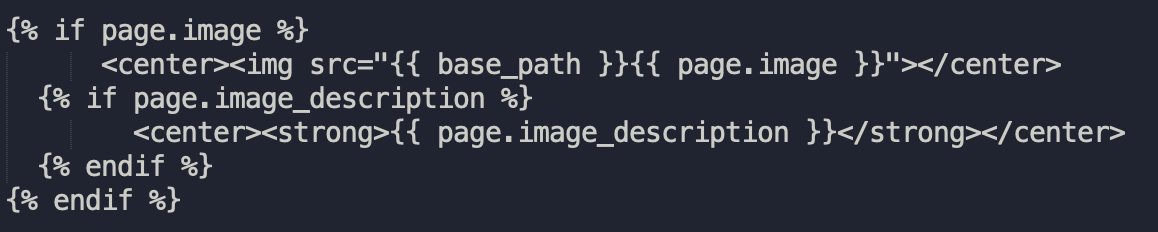 layouts/post.html template in Jekyll_
But published via RSS feed, such posts will have no image in the post text, because technically it’s not the content of a post but a metadata. So I ended up adding images to each post like this:

_Caption_and then removing the _post.yaml template functionality to show images.
End result: image/image_description fields are used to show postcards (image thumbnails) on the main and other index pages in Jekyll. Also, these fields are used for RSS thumbnails. Same images are included via Markdown to become part of content and be shown in post text in RSS.
Set up Jekyll contact form with Netlify
Netlify are worth the money of pro plan, but most features are available even on the free plan (that I’m using for now). Forms are one of such features.
Just follow the Netlify guide for configuring JAMstack forms and Netlify, here are just short notes:
In your contact form, the standard HTML variety, add netlify word after the form action URL:
<form name="contactMe" action="/thanks.html" netlify>
  <p>
    <label>Name: <input type="text" name="name" size="40"></label>
  </p>
  <p>
    <label>Email: <input type="text" name="email" size="40"></label>
  </p>
  <p>
    <label>Website URL: <input type="text" name="url" size="40"></label>
  </p>
  <p>
    <label>Message: <textarea rows="5" cols="60" name="message"></textarea></label>
  </p>
  <p>
    <button type="submit">Send</button>
  </p>
</form>
In Netlify, you’ll see form submissions under the Form section of your account:
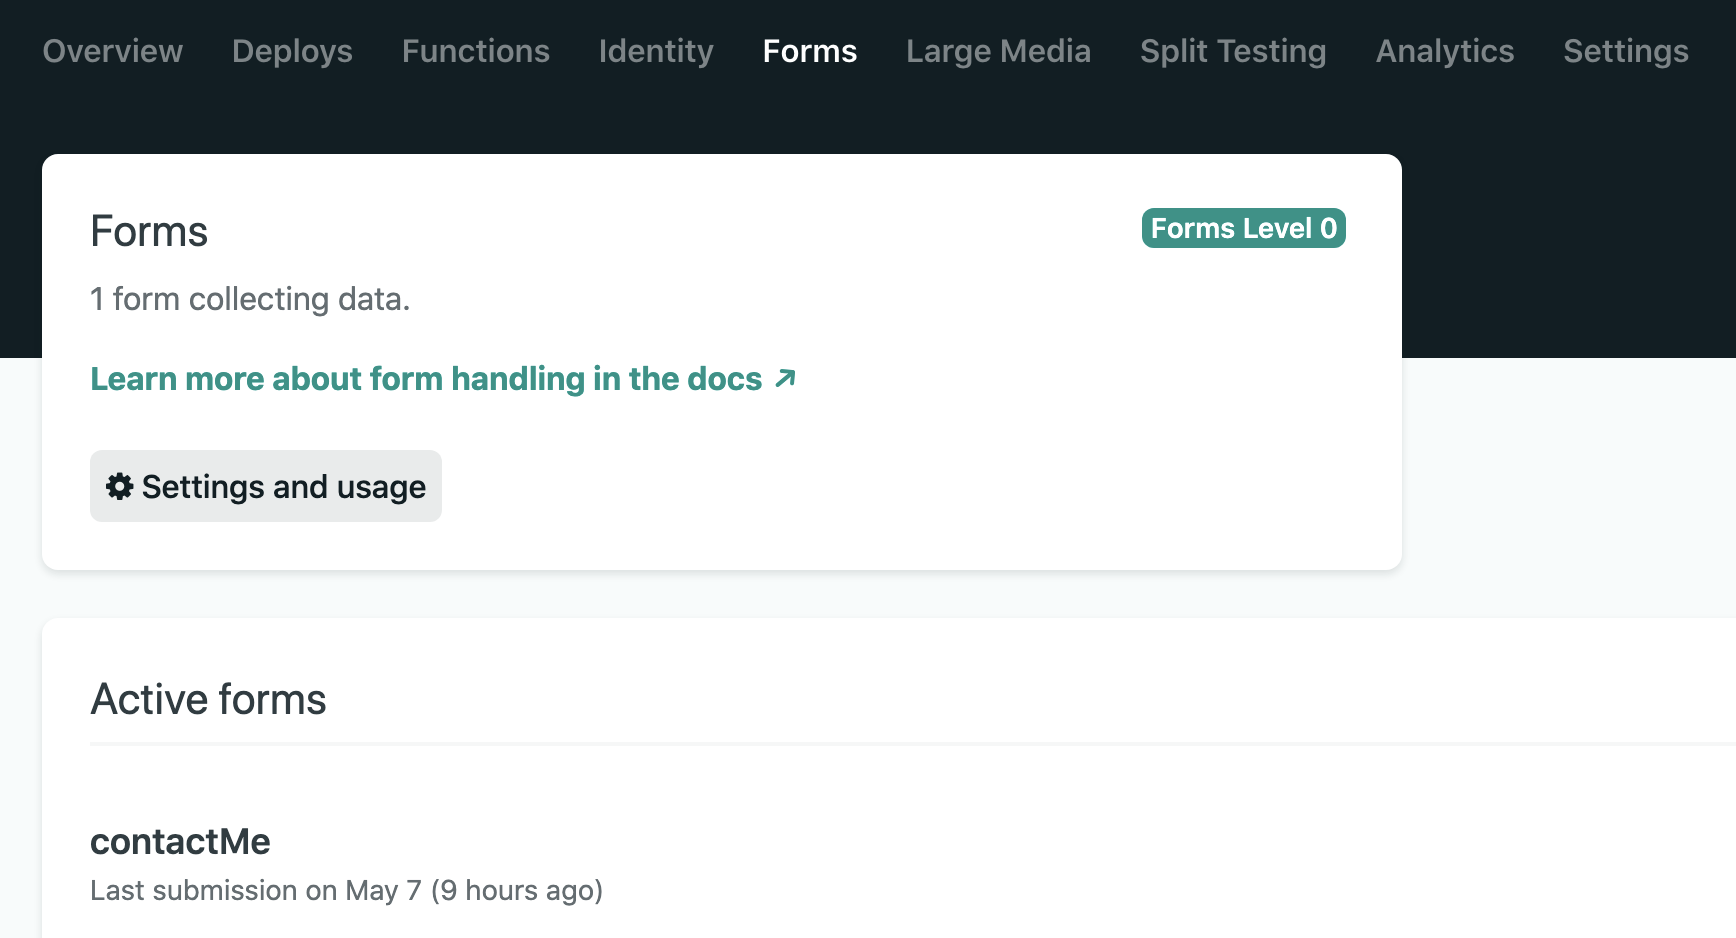 Netlify Forms
If you want to receive email notification when someone submits a contact for, add this:
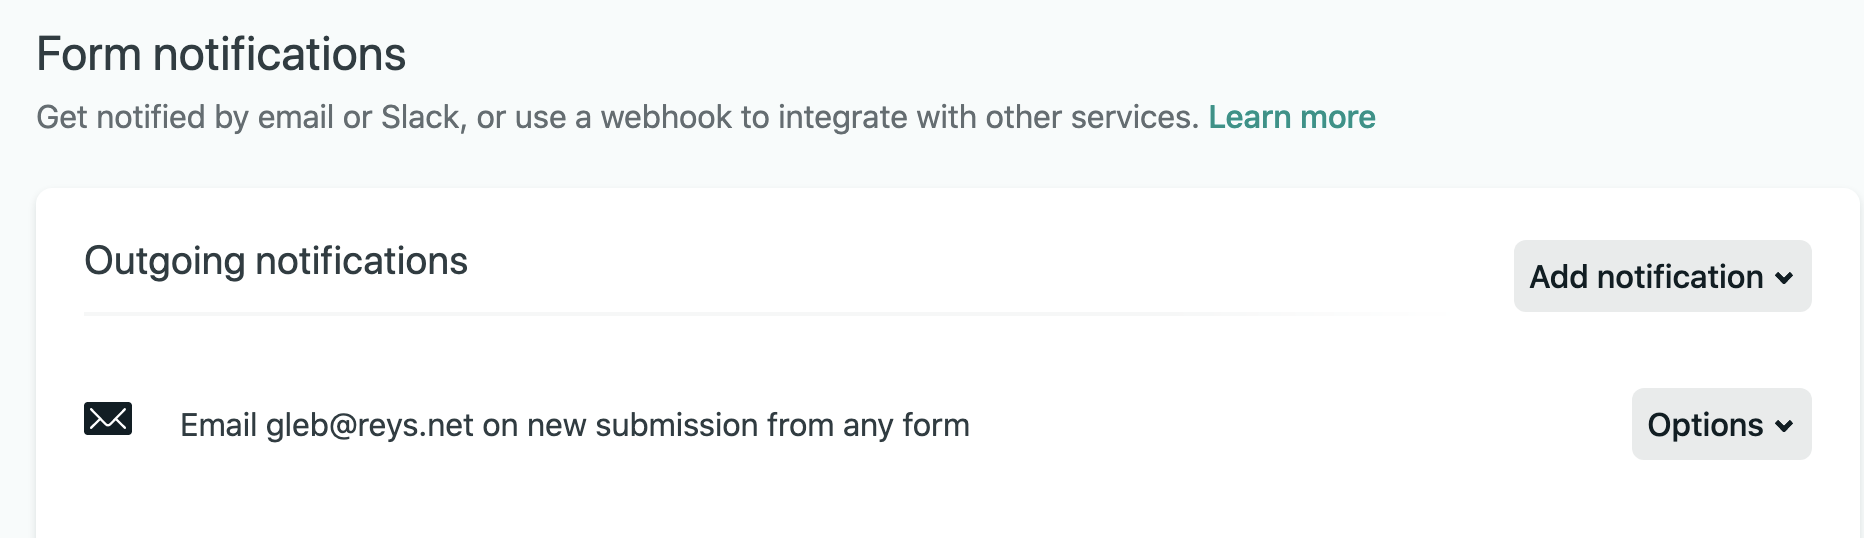 Form notifications - Netlify
Markdown Snippets in Sublime Text 3
I think my Markdown skills are certainly improving lately, but in the interest of time I decided to use snippets. Since Sublime Text 3 is still my favourite text editor, that’s where I configured snippets.
You configure new snippet by using this option in Sublime Text 3:
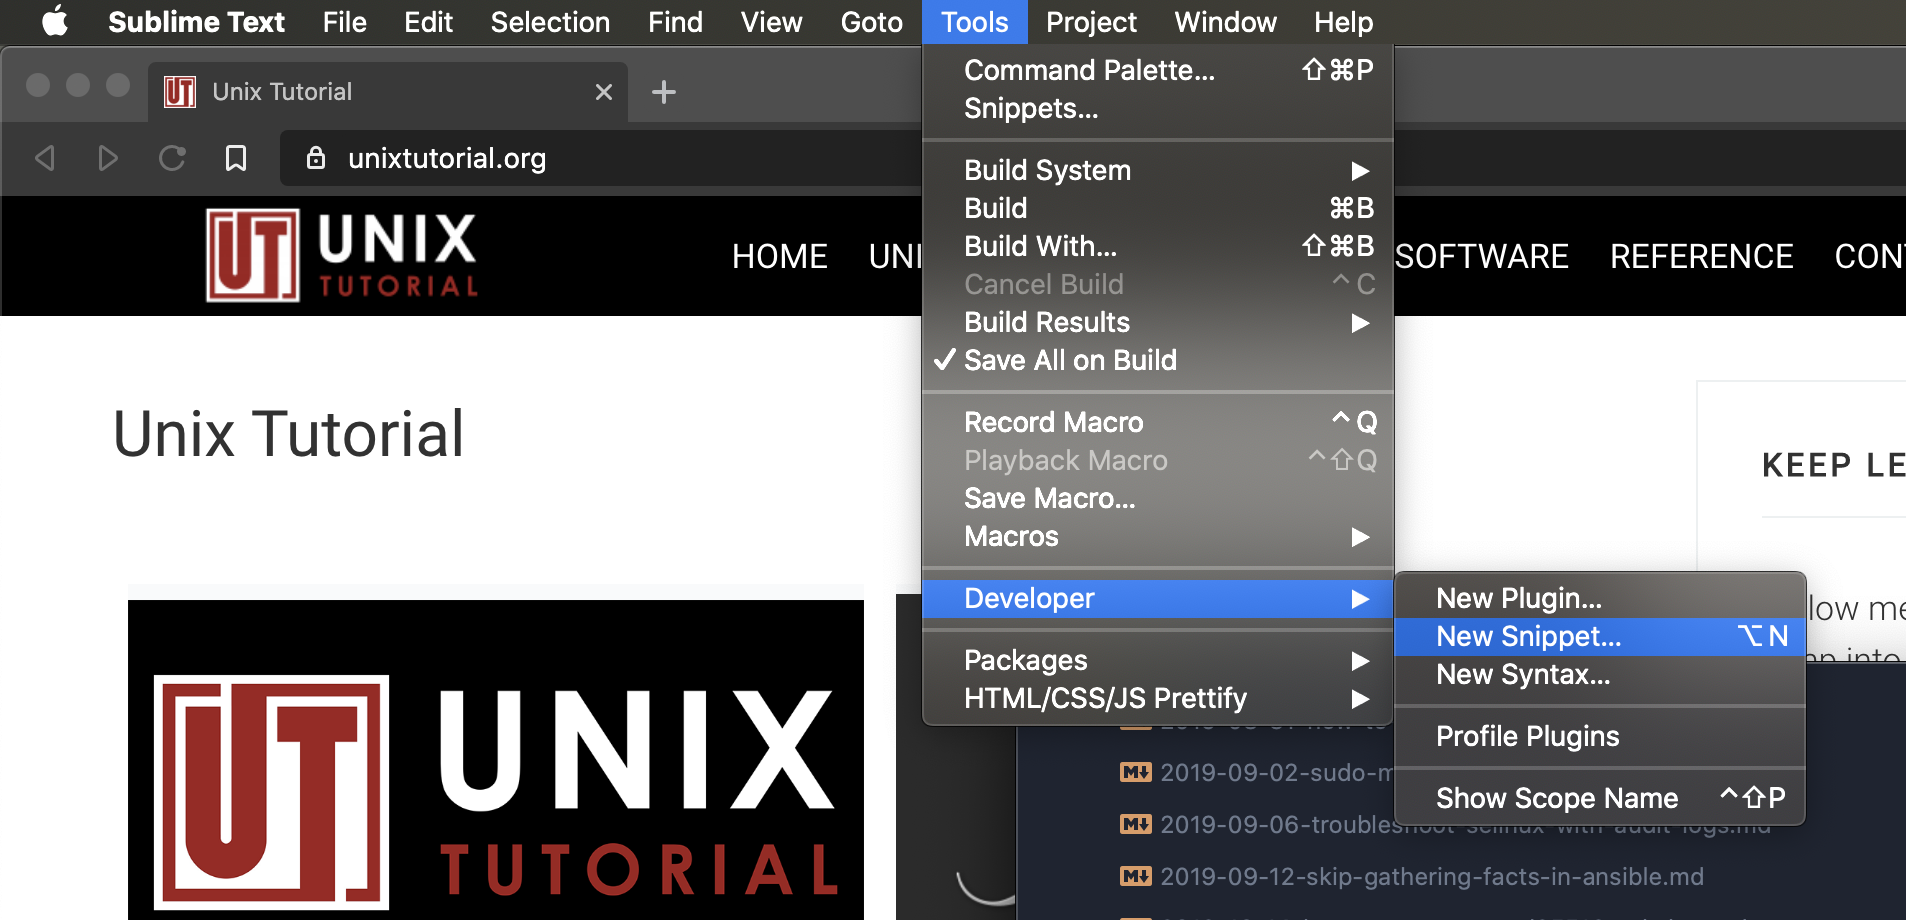 Adding new snippet in Sublime Text 3
After that I just update the code with my snippet changes and save the file.
IMPORTANT: you must save the file with .sublime-snippet extension, otherwise Sublime Text won’t pick it up as snippet.
Here’s where I have my snippets on macOS:
greys@mcfly:~/Library/Application Support $ find . | grep sublime-snippet
./Sublime Text 3/Packages/User/im.sublime-snippet
./Sublime Text 3/Packages/User/he.sublime-snippet
./Sublime Text 3/Packages/User/hs.sublime-snippet
I have the following snippets now, meaning I type the short code, press Tab and get it expanded:
im - snippet for images
I have just recently learned how to annotate images in Jekyll properly, so this contruction lets me show image with caption:

_Caption_After snippet expansion, I modify the code to the actual image I’m planning to use, like this:

_Jekyll 4_The result looks like this:
Jekyll 4
Here’s the Sublime Text 3 snippet code for the above:
<snippet>
<description>Jekyll Markdown Image</description>
<content><
*Caption*
]]></content>
<!-- Optional: Set a tabTrigger to define how to trigger the snippet -->
<tabTrigger>im</tabTrigger>
<!-- Optional: Set a scope to limit where the snippet will trigger -->
<!-- <scope>source.python</scope> -->
</snippet>hs - start of a syntax-highlighted code
I’m really enjoying the staightforward way to publish code snippets - at last there’s no more messing with formatting, let alone HTML tags to make it look proper. Markdown and Jekyll support for syntax highlighting do all the work for me here.
Sublime Text 3 has this snippet for me now:
<snippet>
<description>Jekyll Markdown Highlight</description>
<content><![CDATA[
<pre tabindex="0"><code class="language-command" data-lang="command">]]></content>
<!-- Optional: Set a tabTrigger to define how to trigger the snippet -->
<tabTrigger>hs</tabTrigger>
<!-- Optional: Set a scope to limit where the snippet will trigger -->
<!-- <scope>source.python</scope> -->
</snippet></code></pre>
meaning I just type hs and expand it with Tab to get everything ready for pasting my console text:

_hs - snippet to start syntax-highlighted code_
### es - end of the syntax-highlighted code
I also have this snippet to complete the syntax-highlight code:
<pre tabindex="0"><code class="language-command" data-lang="command"><snippet>
<description>Jekyll Markdown Highlight End</description>
<content><![CDATA[
</code></pre>
]]></content>
<!-- Optional: Set a tabTrigger to define how to trigger the snippet -->
<tabTrigger>he</tabTrigger>
<!-- Optional: Set a scope to limit where the snippet will trigger -->
<!-- <scope>source.python</scope> -->
</snippet>it simply insets this block, when expanded:
 he - snippet to end syntax-highlighted code
I cover 99% of my Unix Tutorial posts with these 3 code snippets. Will probably create something for posting image galleries later.
Configure Redirects for Jekyll Posts
There’s still a handful of really old posts that use ancient URL structure and get traffic. These are useful pieces of content and valuable pages on my blog, so I don’t want them to just return “not found” page. I use redirects for such pages - used the same thing in Wordpress as well.
Redirects are done using special plugin in Jekyll: jekyll-redirect-from.
Add the jekyll-redirect-from plugin to Gemfile
gem 'jekyll-redirect-from'Add the jekyll-redirect-from name to plugins list in _config.yaml file
plugins: [jekyll-paginate, jekyll-redirect-from, jekyll-feed]The way redirects are configured is simple. Just edit the post that needs to be redirected and add the redirect_from element to it:
layout: post
title: "How To Change Ownership of Files and Directories in Unix"
date: 2009-02-09 08:45:00 +0000
redirect_from:
- /2009/02/how-to-change-ownership-of-files-and-directories-in-unix
layout: post
title: "How To Change Ownership of Files and Directories in Unix"
date: 2009-02-09 08:45:00 +0000
redirect_from:
- /2009/02/how-to-change-ownership-of-files-and-directories-in-unix
What this does is it redirects page from redirect location: /2009/02/how-to-change-ownership-of-files-and-directories-in-unix
to the default post URL, in my case it’s just /how-to-change-ownership-of-files-and-directories-in-unix.
Project Summary
I believe this makes my Wordpress to Jekyll migration project complete enough, but expect to be working and sharing Jekyll knowledge going forward. Specifically, I will have another small project documenting my Jekyll on WSL2 setup.