18 Jun 2021
1 minutes read

CentOS 8.4 Released
CentOS Linux Finally getting around to capturing the fact that CentOS 8.4 has been released 2 weeks ago. It followed the prior RHEL 8.
CentOS Linux Finally getting around to capturing the fact that CentOS 8.4 has been released 2 weeks ago. It followed the prior RHEL 8.
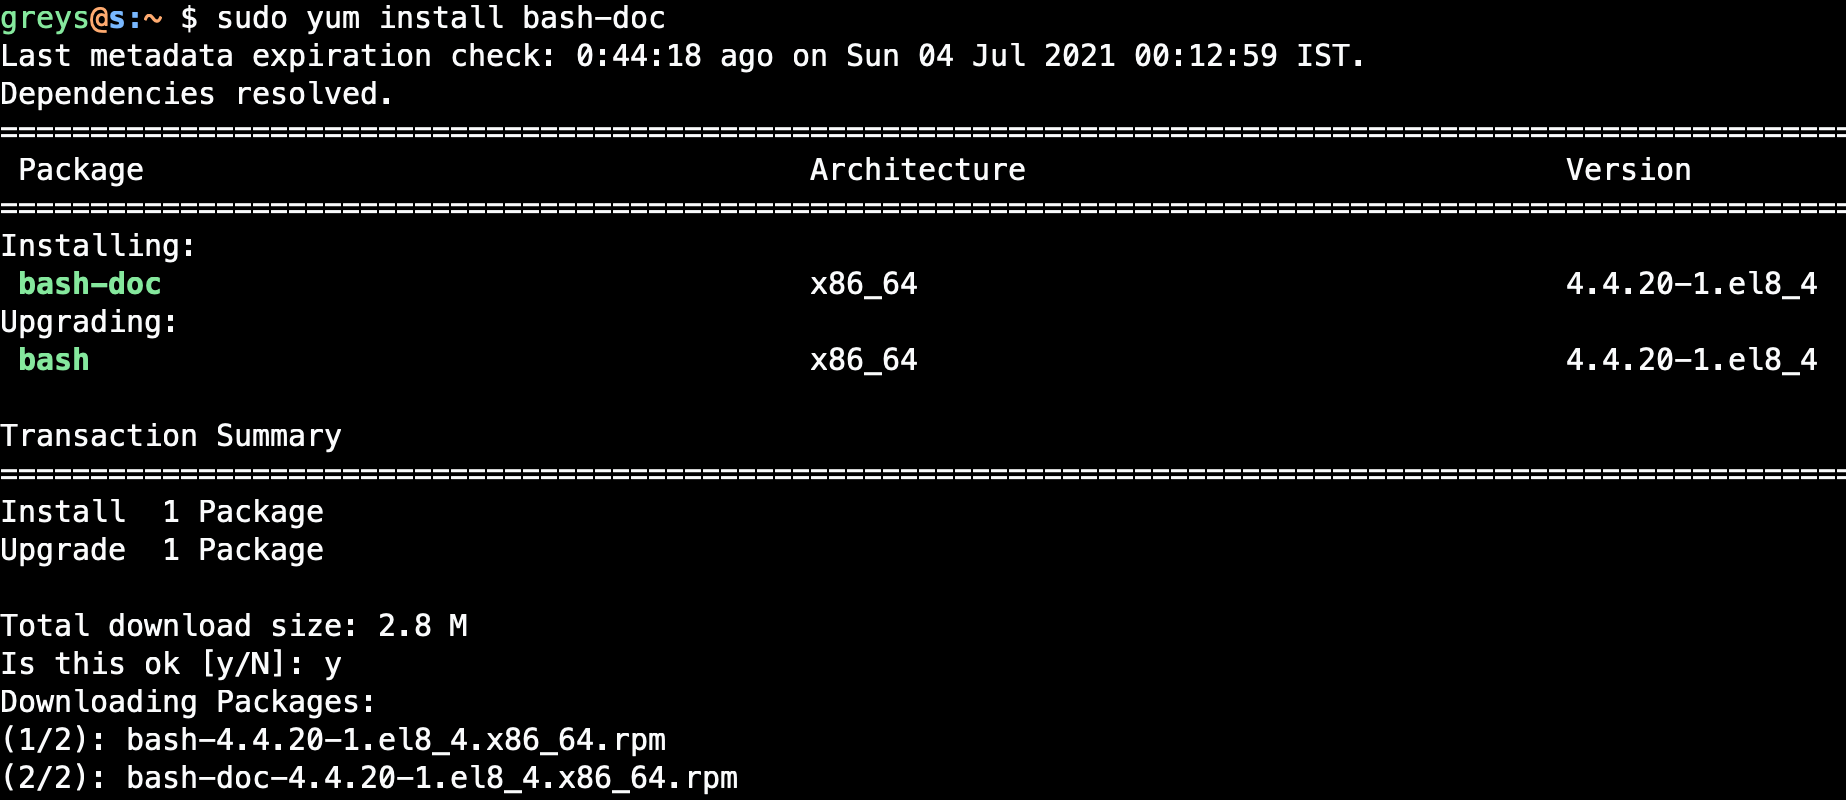
yum install bash-doc Every modern Linux distribution comes with a set of tools for installing and updating software. …
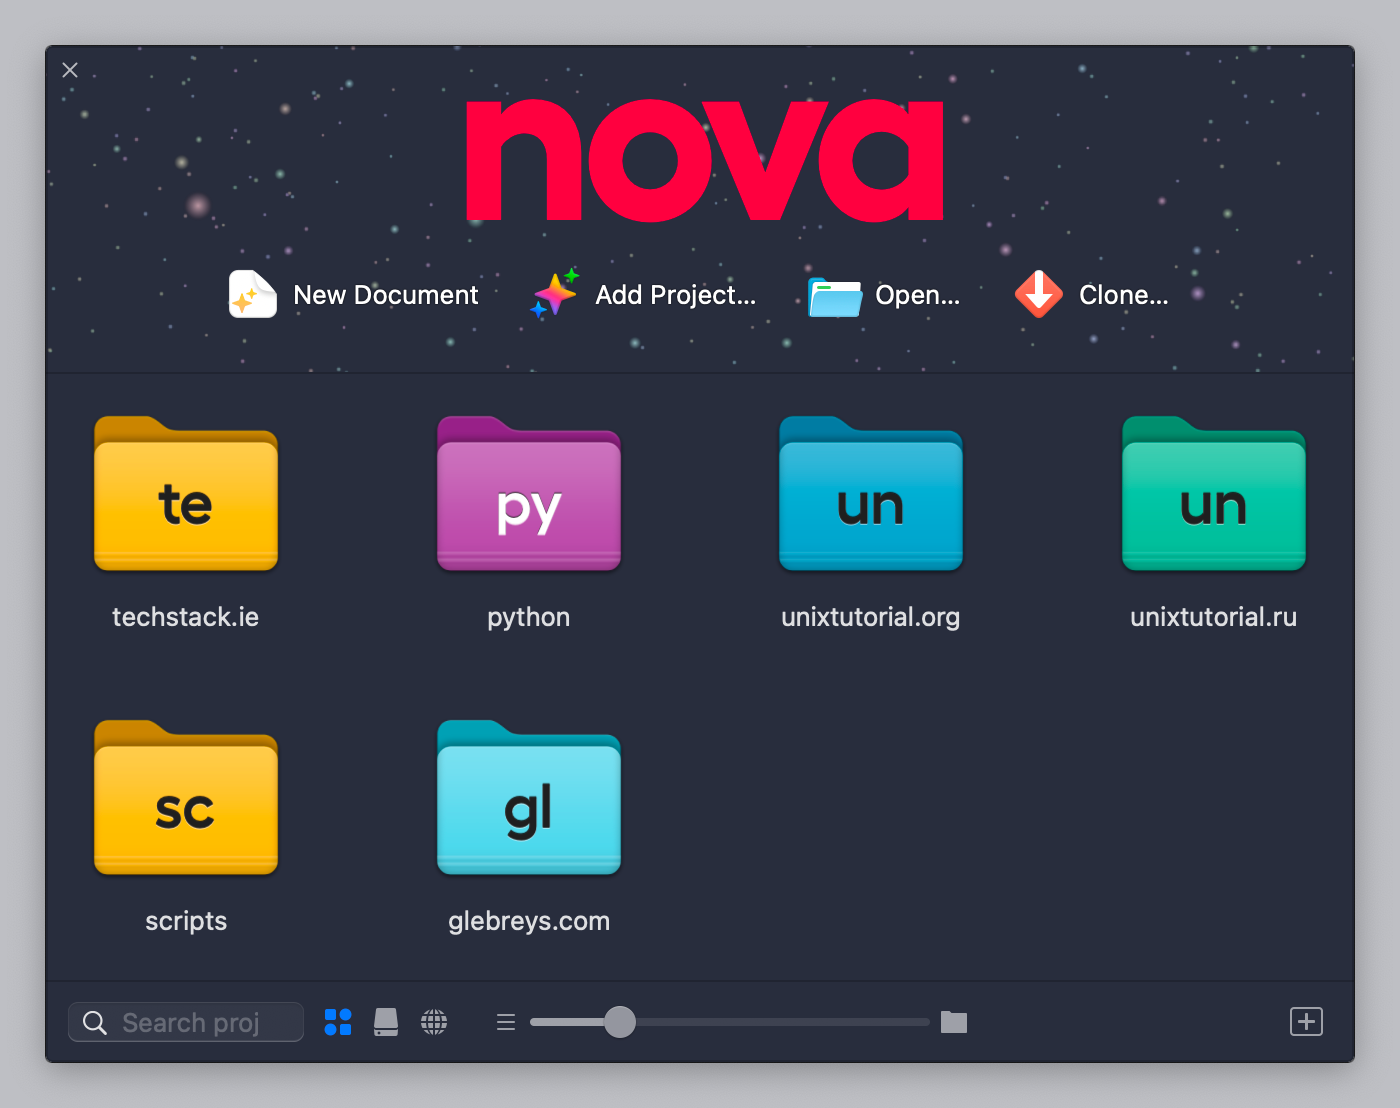
Nova Editor I have just completed another trial month of the Nova Editor and decided to make a purchase.
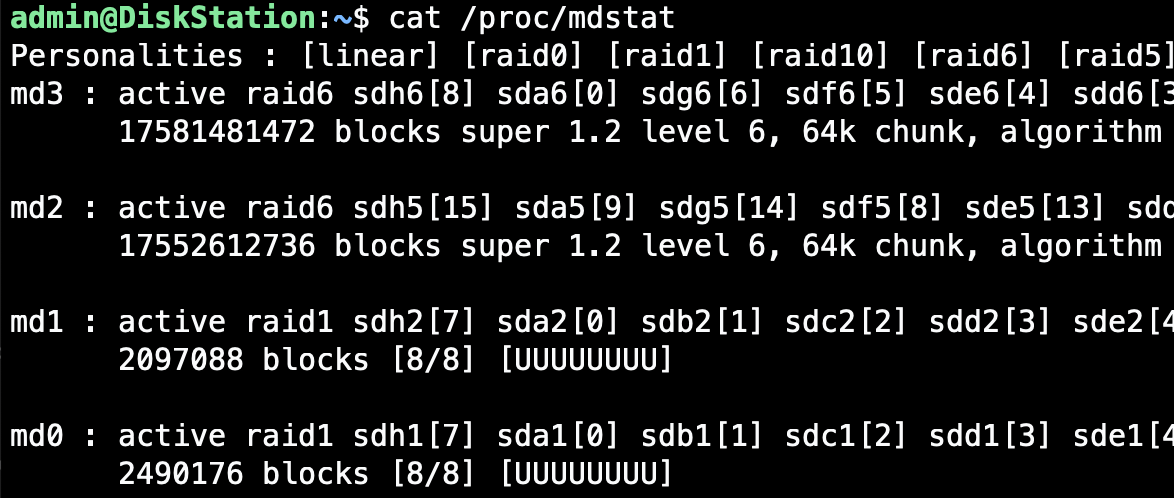
/proc/mdstat /proc/mdstat is a special file that shows you the state of the Linux kernel’s md driver. md (multiple …

Keychron K3 keyboard Hurray! It’s been a long wait (about 20 days) for the delivery, but my wireless mechanical …

Sublime Text 4 I’ve been using the dev channel of Sublime Text 4 for so long that I have actually missed the first …

SELinux I’m migrating all the SELinux content from my old website, it’s a great way to refresh my …
MySQL I’m going through some old notes and found this little gem that really confused me last time I was migrating …

OpenIndiana Pretty cool! Seems I announced OpenIndiana 2020.4 exactly a year ago, on the same day :) OpenIndiana is a …

RPI4 - Raspberry Pi 4 Fresh off publishing a bunch of articles on learning tmux yesterday, I finally took the time to …
Quick note on filesystem resize on a typical …

macOS Tahoe is the upcoming major release of macOS …

BASH is my Linux shell of choice (it’s zsh on …

hey Unless you disable SIP, most of DTrace based …

I reliased one of my Raspberry Pi systems was …

Apple keeps shipping public betas of macOS Sequoia …

Another video on my YouTube channel …